Ever noticed the echo of footsteps on a bare staircase? It's not just noise; it disrupts the tranquillity of your home. One simple yet effective way to reduce this noise is to carpet your stairway. Here is how
How to Fit Carpet on Stairs: A Step-by-Step Guide for a Professional Finish
Ever noticed the echo of footsteps on a bare staircase? It's not just noise; it disrupts the tranquillity of your home. One simple yet effective way to reduce this noise is to carpet your stairway.
Carpeting your stairs isn’t just about comfort; it’s a game-changer for reducing noise and improving safety. A well-fitted stair carpet softens footsteps, absorbs sound waves, and reduces the risk of slipping—an essential upgrade if you have kids or elderly family members. But if the idea of installing it yourself sounds daunting, don’t worry. With the right tools, patience, and a clear guide, you can install carpet as a DIY project for professional-looking results without the professional price tag.
Ready to transform your stairs? Let’s get started.


What Is the Best Carpet for Stairs?
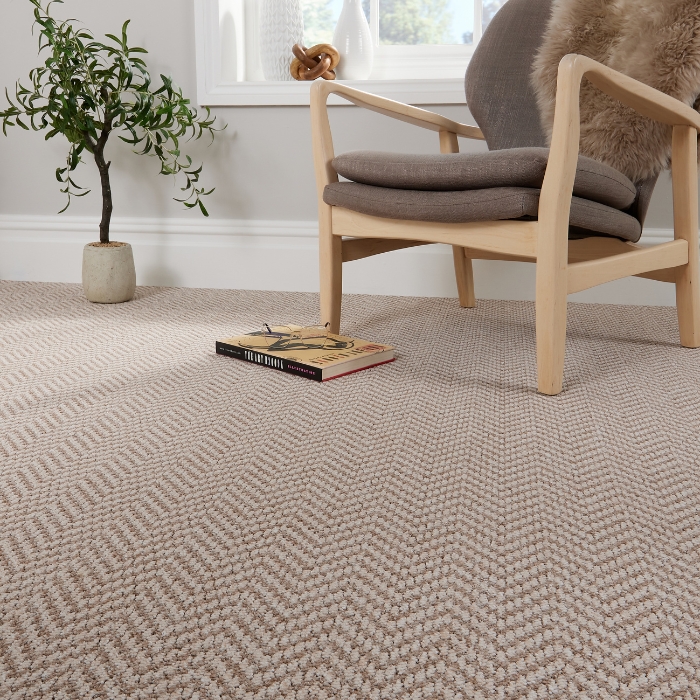
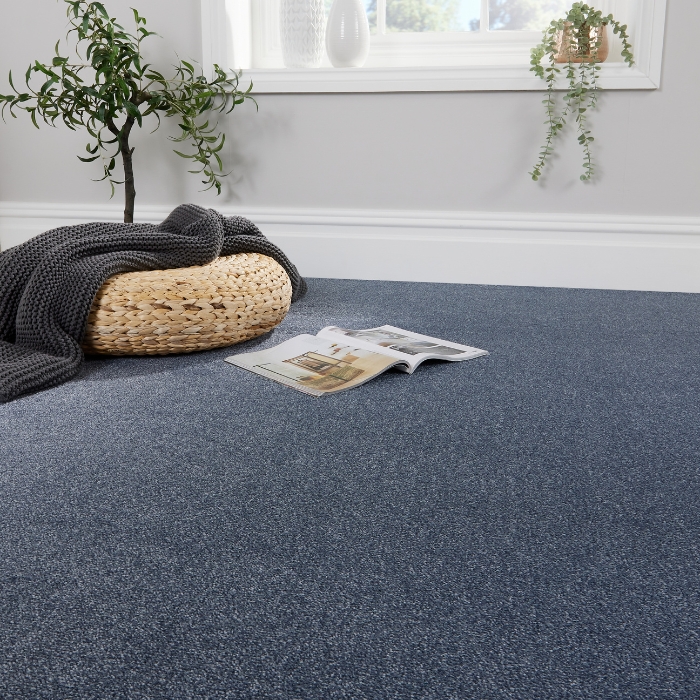
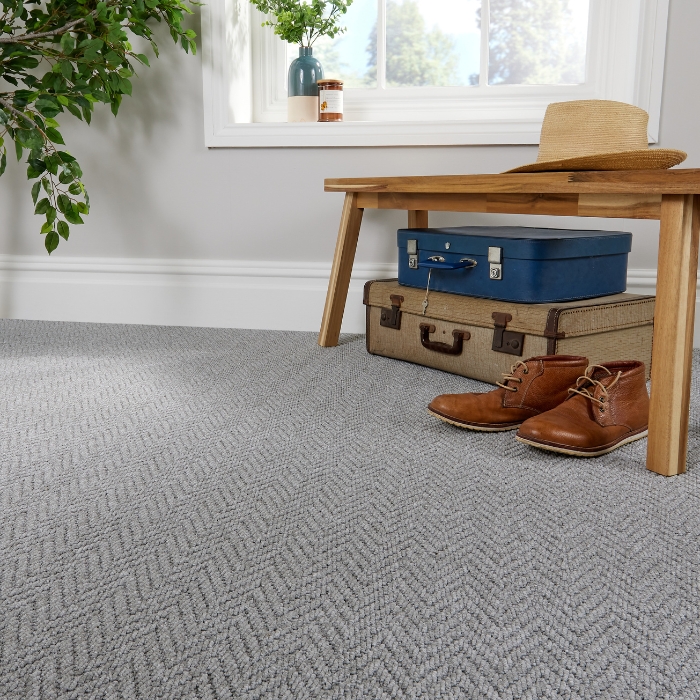
A stair carpet needs to be durable, safe, and easy to maintain. Stairs experience heavy foot traffic, so a tightly woven, low to medium pile carpet is best for resisting wear and maintaining its shape. Textured or loop pile carpets provide a good grip to help prevent slips, while bold patterns should be used carefully to avoid visual confusion.
Stain resistance is essential, especially in busy homes, and a high-quality underlay improves comfort, absorbs noise, and extends the carpet’s lifespan.
When it comes to your landing carpet, the style should complement your stairs while offering a smooth transition to upstairs rooms. Landings endure less pressure than stairs but still need to be durable and practical.
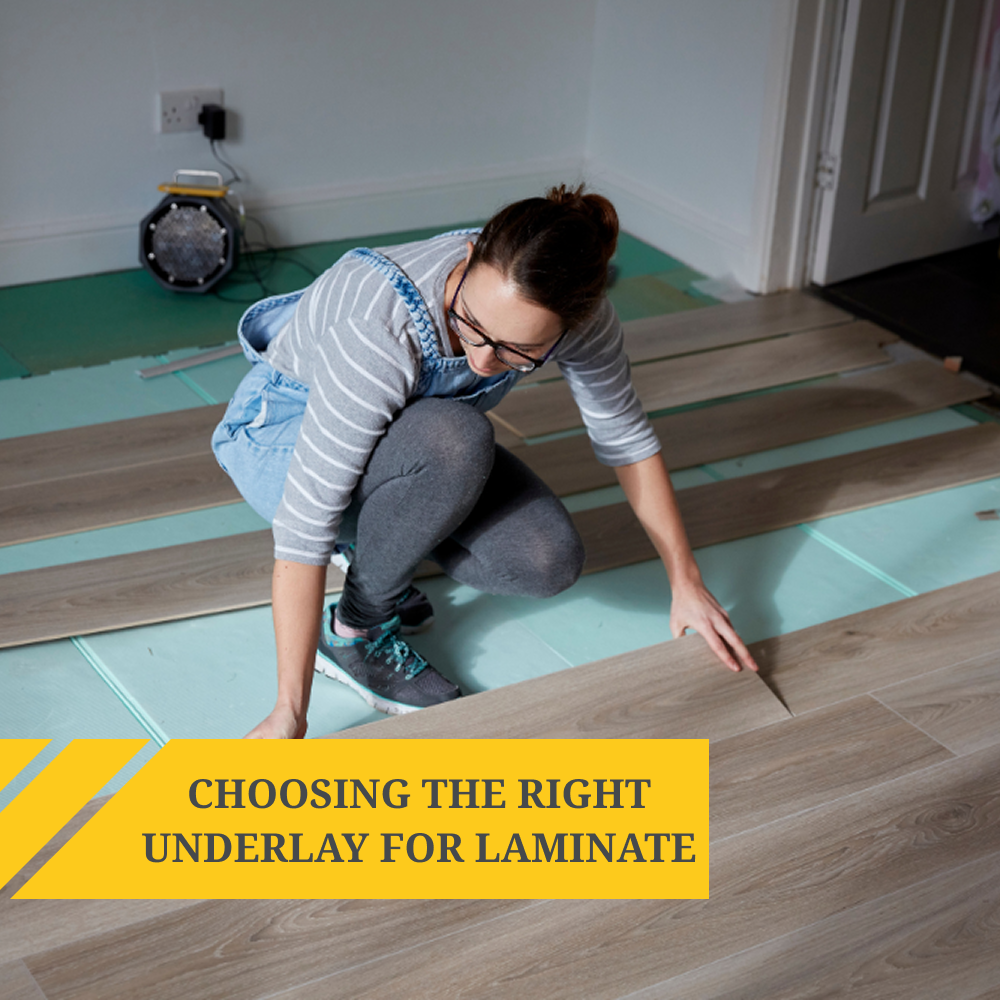
Pro Tip: You'll also need to think about underlay when laying carpet on stairs. Of all the spaces in your home, stairs experience the most foot traffic, so a high-quality underlay can really help to preserve the carpet's appearance and longevity.
Explore Best4Flooring’s Carpet Collection to find the perfect fit for your home, and learn how to choose the perfect underlay in our dedicated guide.
What You’ll Need for Installing Carpet on Stairs
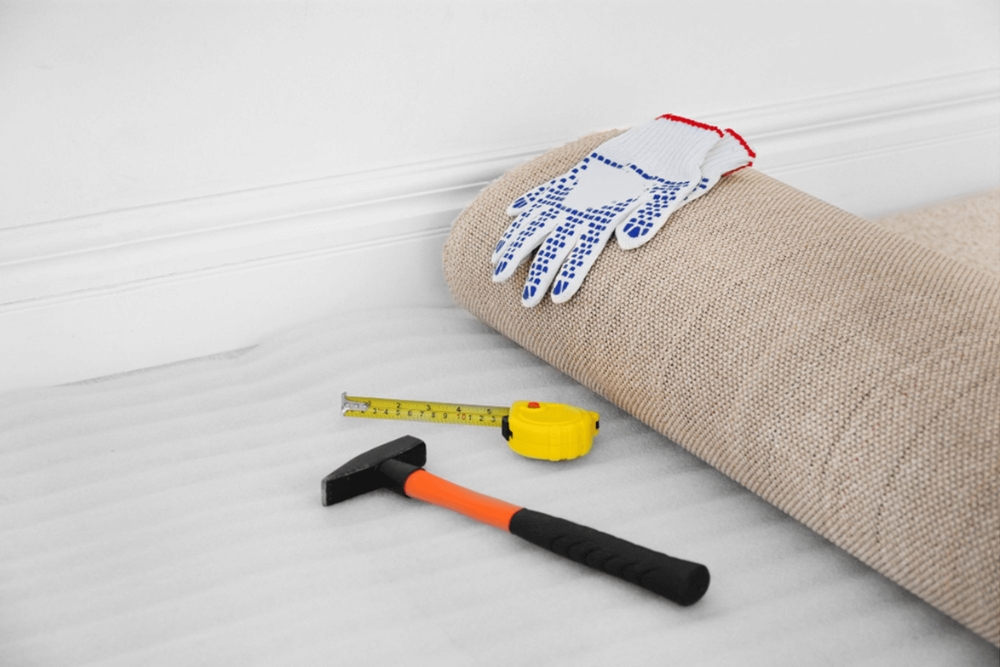
Fitting stair carpet requires a few tools and materials, but nothing too excessive. Here’s what you’ll need:
Tools and Materials List
- Measuring tape
- Carpet grippers (carpet gripper rods/tack strips) to secure the carpet in place
- Carpet underlay (padding) for extra comfort and durability
- Carpet knee kicker and carpet stretcher to stretch and fit the carpet tightly
- Heavy duty staple gun (and heavy-duty staples!) to secure the underlay and carpet
- Utility knife with spare blades for precise cutting
- Hammer and stair tool (chisel) to neatly tuck edges
- Duct tape for securing underlay joins
- Carpet seam strip (if your stair carpet connects to another carpeted area)
- Your New Carpet! (with extra length for adjustments)

Preparing Your Stairs for Carpet Installation
Before you begin installing your new carpet, a little prep work goes a long way in achieving a smooth, professional result. Follow these essential steps before you begin laying carpet.
1. Remove Existing Carpet and Old Underlay
If your stairs are already carpeted, strip away the old carpet and padding completely. Use pliers or a utility knife to remove any stubborn staples or tacks - make sure to wear gloves to protect your hands.
2. Clean and Inspect the Stairs
Vacuum the staircase to remove dust and debris. If necessary, wipe down the treads and risers with warm water and mild soap. Make sure there are no loose boards or protruding nails that could cause issues later when you lay carpet.
3. Measure Your Stairs for Carpet
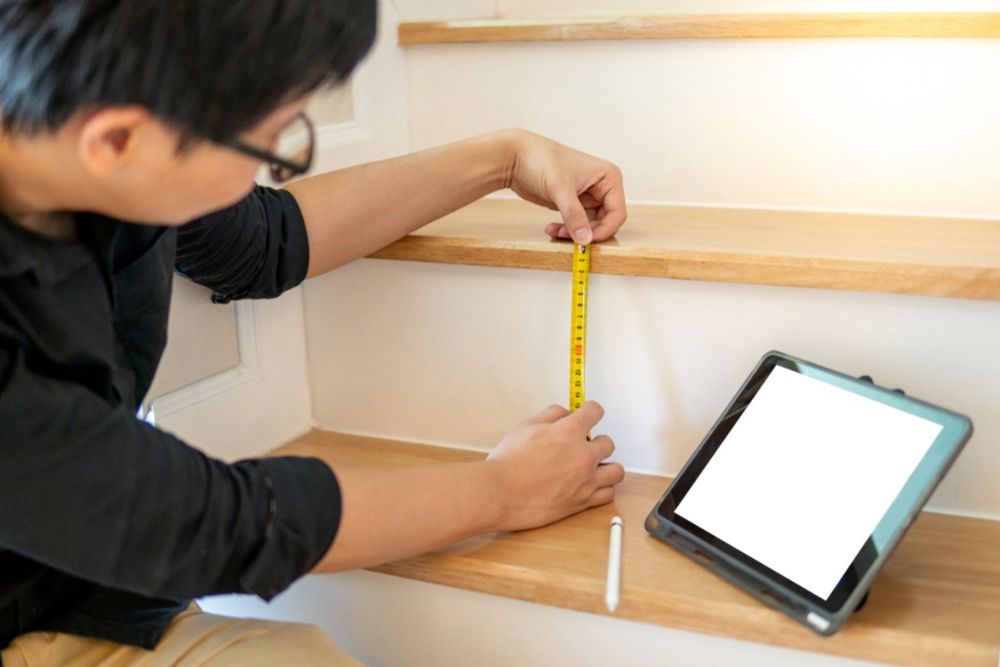
To calculate how much carpet you need, use a tape measure to record the tread width, tread depth, and riser height for each step. Add 2-3 inches for tucking, then multiply the total length by the number of steps. If your stairs include landings, measure them separately. Finally, add 10% extra for waste and adjustments. For curved or irregular stairs, use paper templates to ensure accuracy.
Need the perfect stair carpet? Explore Best4Flooring’s Carpet Collection.

Install Carpet on Stairs: Step-by-Step Guide
Once you're fully prepped, it's time for the main event, laying your new carpet!
Step 1: Measure and Cut Gripper Rods
Measure the width of your stairs. On a straight flight, they are usually the same width, but winding steps and landings will need to be measured individually. Count the number of stairs and cut the corresponding amount of gripper before installation.
Cut your gripper 10mm shorter than the step width. This will leave a 5mm tuck space up to the stair stringer once the gripper/tack strip is installed. Position the gripper rods 2x the carpet thickness away from the riser for the best fit.
Step 2: Fix Gripper Rods
Now you have everything cut to size, it's time to secure the gripper/tack strips. Install the tread grippers first, leaving a gap of 2x the carpet thickness from the riser—this ensures the carpet fits securely once stretched. Install the riser gripper 10mm away from the tread gripper after all treads are in place.
Make sure the gripper pins face the riser on the tread gripper and towards the tread on the riser gripper—this will hold the carpet firmly in place. For winding steps or landings, measure and cut each gripper individually to match the step shape. If installing on concrete stairs, use adhesive or concrete nails to fix the grippers.
Step 3: Cut and Lay the Underlay
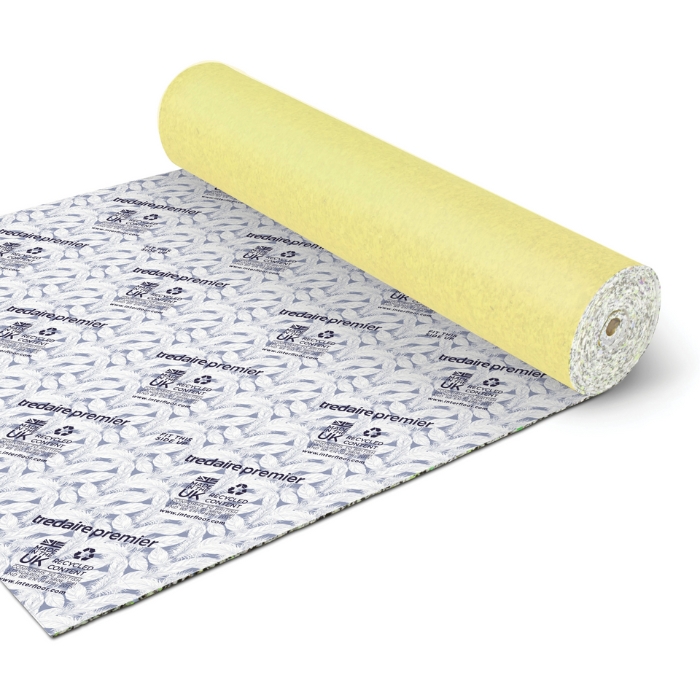
A high-quality carpet underlay helps your stair carpet withstand heavy foot traffic and provides extra comfort. Start from the top step and work your way down, securing each piece before moving to the next.
- Cut the underlay for each step individually to ensure a precise fit.
- Lay the underlay slightly over the grippers, then trim it back so it sits neatly between them, leaving a 5mm gap on each side.
- Staple the underlay every few inches along the edges, placing staples approximately 3 inches apart along the inner edge of the gripper rods.
- Make sure the underlay is flat and smooth across each tread to prevent lumps under the carpet.
This method ensures the underlay stays secure and provides a firm, even base for your stair carpet.

Step 4: Measure and Cut the Stair Carpet
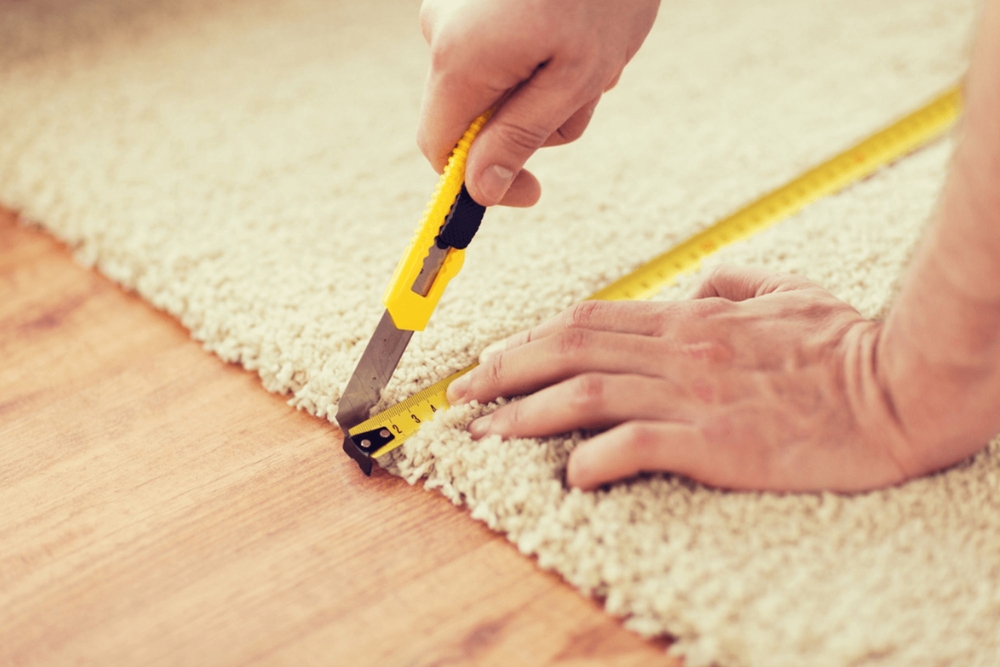
Measure the width and length of your staircase carefully before cutting the carpet. While stairs may appear uniform, small variations can affect the fit. Add 3mm - 5mm to the width to allow for a neat tuck at the edges, and allow 10% extra in length for tucking and adjustments.
For winding or irregular stairs, use heavy paper templates to ensure an accurate shape. If your staircase requires multiple carpet sections, make sure your cuts align neatly for a seamless transition.
Once you have your measurements, it's time to cut the carpet. If using a single continuous piece, cut accordingly to fit the full run of the stairs. Check the pile direction to ensure a consistent look throughout the staircase. Use a row finder and carpet cutter for straight, precise edges, or a sharp utility knife with a hooked blade for clean cuts.

Step 5: Begin Installing Carpet on Stairs
Start at the bottom step and work your way up for the best tension and fit. Align the carpet according to your measurements and press it into the gripper rods using a carpet bolster. Begin in the middle of the step, pressing outward to each side to ensure even tension.
Once positioned, secure the carpet into the grippers using a hammer and bolster. Stretch the carpet firmly over the riser and onto the next tread, then press it into the next gripper strip.
- Use a stair tool (chisel) to tuck the carpet neatly into the edges and between the grippers.
- Ensure a tight, even fit—a loose carpet can cause trips and wear out faster.
- Repeat the process for each step, checking alignment as you go.
This method ensures the carpet stays taut and secure for a professional, long-lasting finish.
Step 6: Creating a Smooth Transition
If the landing is carpeted, align the stair carpet neatly and use a carpet seam strip or heat-seamed join to secure the connection. For hard flooring, such as laminate or vinyl, install a carpet edge strip to prevent fraying and reduce trip hazards.
If using the same carpet for both stairs and landing, tuck and secure the edges properly to create a continuous look without visible seams. This final step ensures a clean, professional finish while preventing wear and movement over time.


Finishing Touches and Common Mistakes to Avoid
Trimming and Tucking
- If there is excess carpet, trim it carefully with a sharp utility knife.
- Ensure all edges are tucked neatly to prevent fraying.
Common Mistakes to Avoid
- Skipping the underlay – This affects both comfort and carpet longevity.
- Not using a knee kicker – Leads to a loose fit that wears quickly.
- Improper gripper rod placement – If they are too close together, the carpet will not be secure.
- Ignoring measurements – Always allow a little extra for trimming rather than cutting too short.
Keeping Your Carpeted Stairs Looking New
Once your new stair carpet is fitted, regular maintenance will keep it looking fresh for years.
- Vacuum frequently to prevent dirt build-up.
- Use a carpet cleaner for stubborn stains—check out our Guide to Carpet Cleaning for more tips.
- Consider stair runners for high-traffic areas to minimise wear.

Start Your DIY Carpet Installation Today
By following this guide, you can achieve a professional-looking stair carpet fit without hiring an installer. From preparing your staircase and securing the underlay to laying and stretching the carpet, these steps will ensure a flawless finish.
Looking for the perfect carpet for your stairs? Check out Best4Flooring’s Carpet Collection and get started on your home transformation today.
Want to explore more flooring options? Read our in-depth comparison between carpet and laminate flooring to find the best fit for your space.
Frequently Asked Questions
Can I fit carpet on stairs myself?
Yes! With the right tools and technique, DIY carpet installation is very doable.
Do you need carpet grippers on stairs?
Absolutely. They help keep the carpet secure and prevent it from slipping.
Which way should carpet pile run on stairs?
It should run down the staircase for durability and aesthetic appeal.
How do I attach carpet to stairs without grippers?
While adhesives and staples can hold carpet in place, grippers provide the most secure, long-lasting fit. If grippers aren’t an option, consider double-stick installation, where the carpet is adhered to both the underlay and the stairs for added stability.


