This guide explores design strips - your secret weapon for adding borders, patterns, transitions & more. Discover how to achieve a custom look, from defining spaces to creating a "rug" effect. DIY-friendly & budget-conscious, design strips unlock endless design possibilities. Get inspired & find yours today!
Luxury Vinyl Tile (LVT) has become a staple in modern flooring, acclaimed for its durability, versatility, and stunning aesthetic appeal. While LVT offers various design possibilities, standard installations can sometimes lack personalisation. This is where design strips come into play, offering a simple yet effective way to elevate your flooring and add that personal touch you desire.
Whether you want to add contrasting borders and inlays to define spaces or create a unique pattern or design, design strips provide endless opportunities. In this guide, we'll discuss everything you need to know about how to create a custom LVT floor with design strips. Let's get into it!
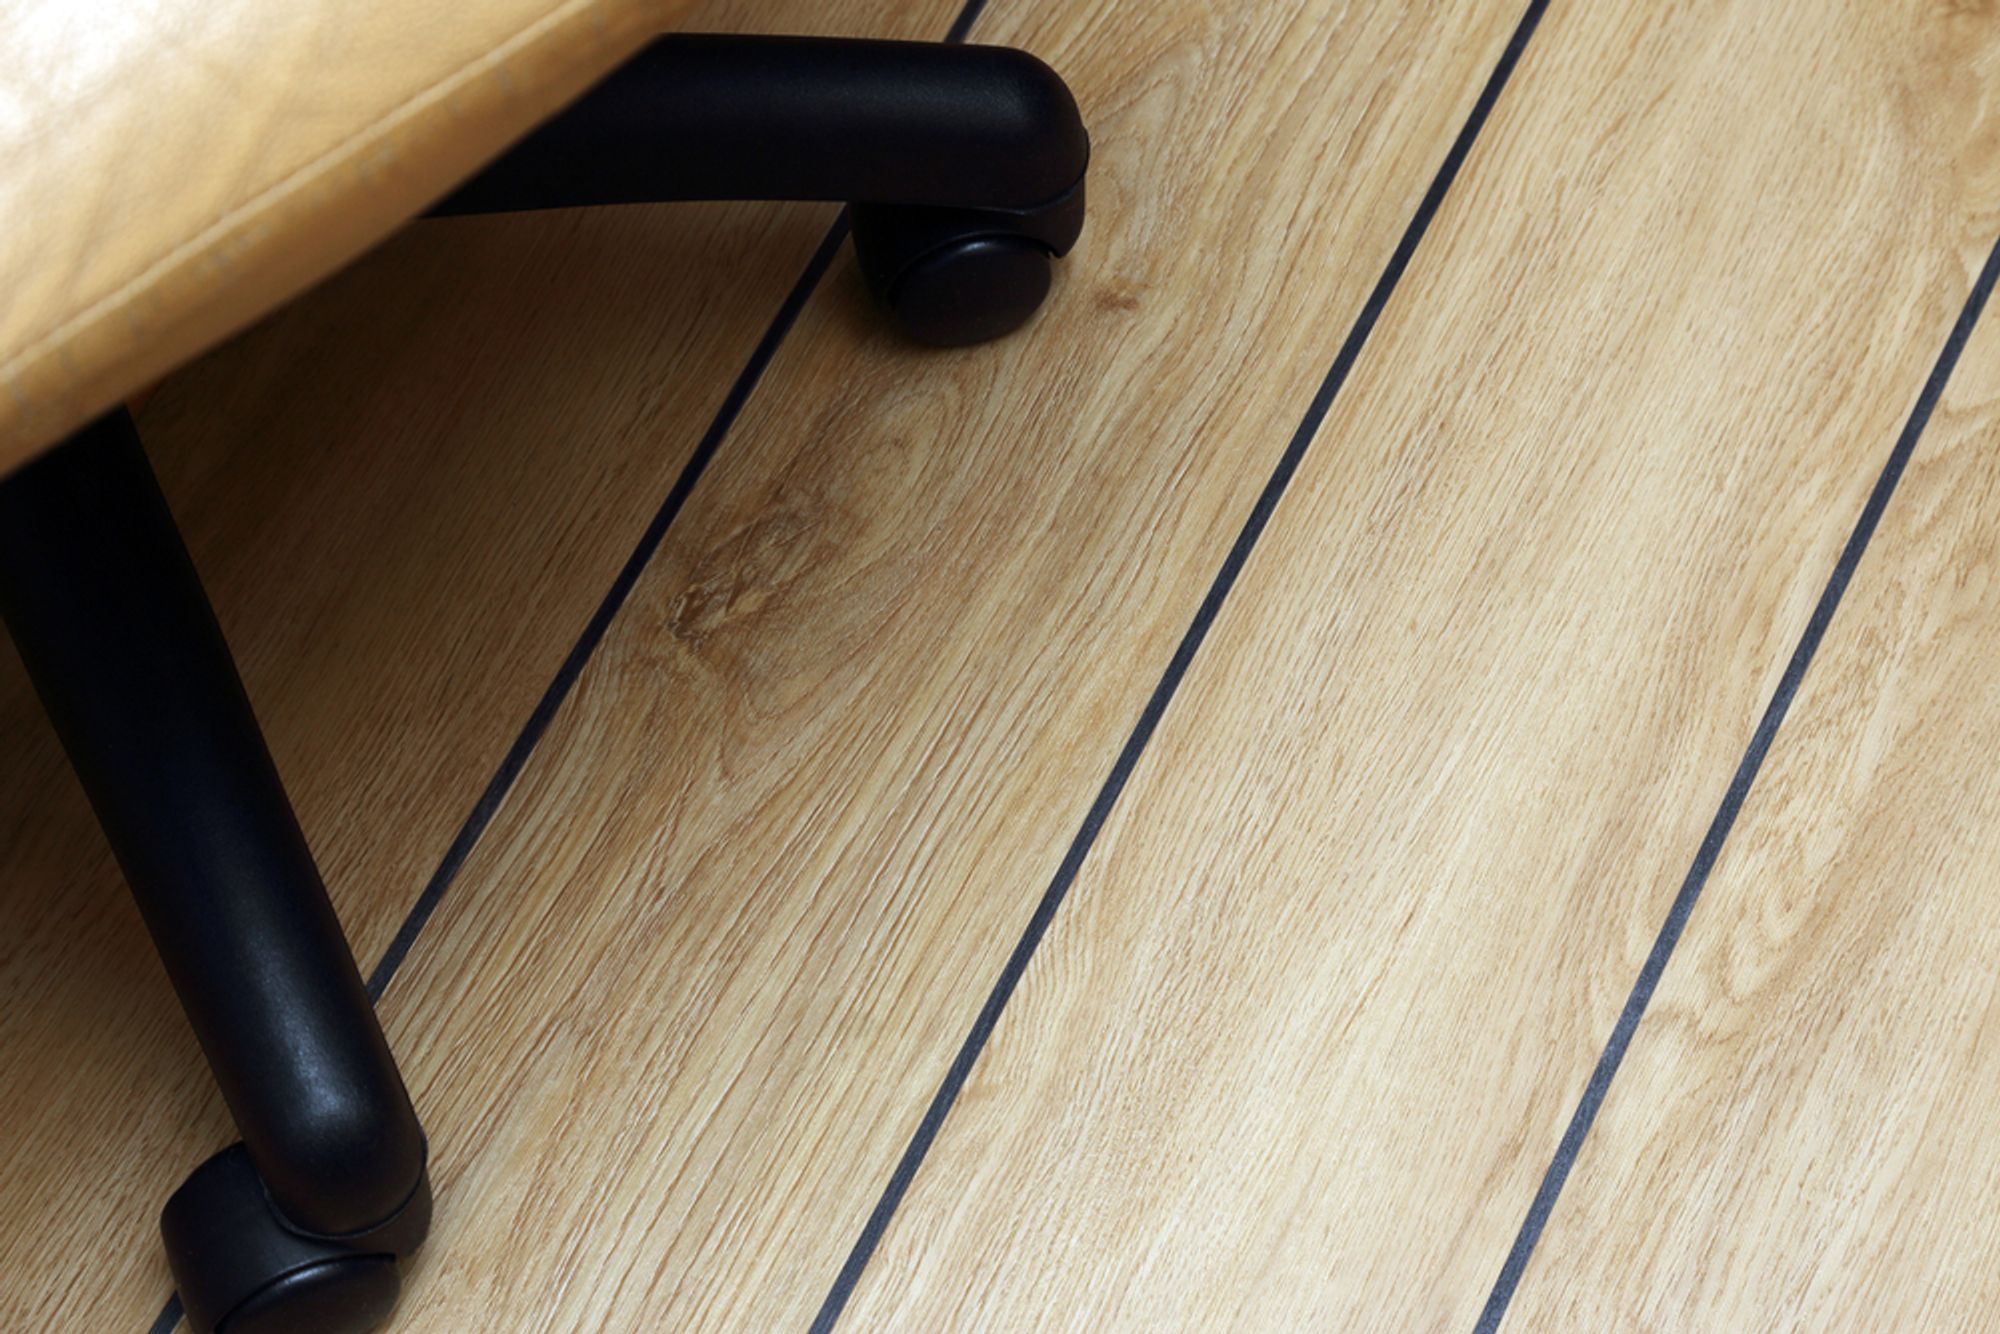

What Are Design Strips?
Design strips are thin pieces of LVT material that come in various styles, colours, and textures. They can be used to mimic grout lines, create intricate borders, or define specific areas within a room.
The beauty of design strips lies in their ability to add visual interest and depth to your floors, transforming a simple LVT installation into a bespoke piece of art.


Design Strip Inspiration for Your LVT Floors:
Defining Borders:
You can define space with LVT design strips to elegantly frame your room and serve as a visual boundary that ties together various elements of your interior design. Using contrasting design strips along the edges of your LVT floor can highlight the room's shape and architectural features, drawing attention to the unique layout and enhancing the overall aesthetic appeal.
Additionally, these borders can provide a professional touch, giving your space a polished and well-thought-out look.
Plank Variation:
Incorporating design strips between planks adds texture and variation, creating a multi-plank look that can make your floors pop. These design strips can come in a variety of colours and materials, allowing you to customise the aesthetic to match your interior decor.
Not only do they enhance the visual appeal, but they also add a unique touch that sets your flooring apart from standard installations. The result is a more dynamic and sophisticated space that reflects your personal style.
Geometric Patterns:
For those who love a bit of geometry, design strips could be your best friend! These versatile elements offer endless possibilities for creativity. From classic grid patterns to sophisticated herringbone designs, these strips can be used to craft visually striking floors that become the focal point of any room.
Additionally, design strips can be mixed and matched to create unique, custom layouts that reflect your personal style. Whether you prefer a minimalist approach or a more intricate design, the right combination of strips can transform any space into a work of art.
Transition Strips:
Creating a seamless flow between different types of flooring can be challenging, especially when aiming for both aesthetic appeal and functionality. To achieve a cohesive look, consider using LVT design strips.
These strips can help define space more clearly, ensuring a harmonious transition between two flooring types. By carefully selecting the right design and colour, LVT design strips can enhance the overall appearance of your floors while maintaining a smooth and practical flow throughout the area.
Rug Effect:
Imagine a beautifully bordered "rug" that doesn't slip, slide, or require vacuuming—a perfect blend of style and convenience. With design strips, you can create this effect within your luxury vinyl tile (LVT) flooring, achieving the look and feel of a traditional rug without the constant maintenance.
These design strips add definition and a touch of elegance to your space, making it both visually appealing and practical. Enjoy the aesthetic of a classic rug while benefiting from the durability and ease of care that LVT flooring provides.
Achieving Your Design Vision
When selecting design strips, it's essential to consider the overall aesthetic you aim to achieve. The strips come in various colours, materials, and sizes, allowing incredible creative freedom.
Think about using these elements to complement your existing décor and desired look. Whether you're aiming to define space, mimic the appearance of tile grout, or add a touch of elegance, there's a design strip that can help you realise your vision.
Installation Tips for Design Strips
One of the best advantages of design strips is their ease of installation. Many options are self-adhesive, making them accessible for DIY projects. However, for more intricate designs or if you're aiming for perfection, you might want to consider professional installation to ensure the best outcome.
Here are some installation tips:
- Measure and plan beforehand. Have a clear idea of the pattern and placement of your design strips before starting.
- Clean and prepare the floor thoroughly. Any debris or residue can affect the adhesion of the strips, so make sure to clean and dry the surface properly.
- Use a straight edge or spacer tool to ensure consistency and alignment. This will help to achieve a professional, polished look.
- Once installed, use a roller tool to press down on the design strips for maximum adhesion. This step is especially crucial for self-adhesive strips.
- Allow the adhesive to cure fully before walking on or using the floor. This process can take up to 24 hours, so be patient and avoid any heavy traffic during this time.
Maintenance Tips for Design Strips
Like any flooring material, design strips require regular maintenance to keep them looking their best and prolong their lifespan. The good news is that it's a relatively low-maintenance option, and regular cleaning is usually all that's needed. Here are some tips to keep in mind:
- Sweep or vacuum regularly to remove dirt, dust, or debris that can scratch the design strips.
- Use a damp mop with a mild cleaner suitable for vinyl flooring. Avoid harsh chemicals and abrasive cleaners.
- Wipe up spills as soon as possible to prevent staining or adhesive damage.
- Avoid dragging heavy furniture across the design strips to prevent scratches or dents.
- Use protective pads under furniture legs to prevent damage.
- For deep cleaning, use vinyl flooring cleaners or steam mops with caution. Follow the manufacturer's instructions and test in a small area first.
- In case of damage like scratches or gouges, consult a professional for repairs instead of attempting to fix it yourself.
- Follow the manufacturer's maintenance recommendations for your design strips, as care requirements may vary by brand.
Feeling Inspired?
Elevate your home with LVT design strips for a more finished look, define spaces uniquely tailored to your style, and create a custom LVT floor that reflects your personal taste and lifestyle.
Design strips offer an exciting avenue for creating custom, high-end-looking floors without compromising on practicality (or breaking the bank!)
You can transform your space into something truly special with a bit of imagination and the right materials. Browse our selection to find the best LVT design strips for DIY projects and start your flooring transformation!


