Installing laminate flooring is easier than you think! Our step-by-step guide covers everything from prep to finishing touches—plus pro tips for a flawless result. Read on to transform your space with confidence!
How to Install Laminate Flooring: A DIY Guide for a Professional Finish
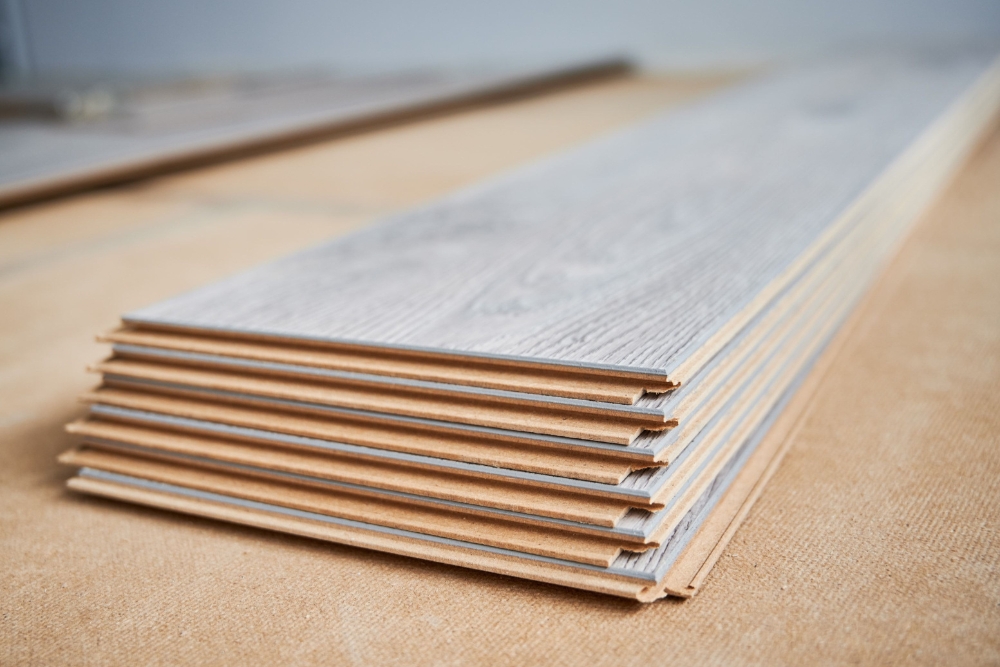
Laminate flooring is one of the easiest types of flooring to install yourself. Thanks to its intuitive click-lock system, it doesn’t require glue, nails, or years of carpentry experience. If you can measure, cut, and follow a simple step-by-step process, you can install laminate flooring with confidence.
In this guide, we’ll walk you through the entire laminate flooring installation process, from preparing your subfloor to laying the final row and adding finishing touches. Along the way, we’ll share pro tips to avoid common mistakes and explain why herringbone laminate is best left to professionals.
Whether you’re a seasoned DIYer or a complete beginner, this guide will help you lay laminate flooring that looks like it was installed by a pro.
Why Laminate Flooring is DIY-Friendly
Laminate flooring is designed with DIYers in mind. Thanks to its click-lock system, planks simply slot together without the need for nails, glue, or specialist skills. With basic tools, a little patience, and careful planning, you can achieve a professional-looking finish.
Laminate flooring is popular among DIY enthusiasts because it’s:
- Easy to install: The click-lock system makes it simple to fit planks together without glue or nails.
- Beginner-friendly: No prior experience is required—just patience and attention to detail.
- Low-maintenance: Once installed, laminate is durable, scratch-resistant, and easy to clean.
- Adaptable: You can cut planks to size to fit awkward corners or tricky layouts.
You can learn more about the pros and cons of laminate in our in-depth blog.
That said, not all laminate floor installations are the same. While standard laminate planks are straightforward to install, herringbone laminate flooring is much more complex. The intricate pattern requires precise cuts and expert alignment, making it a job best suited to professionals.

Tools & Materials You’ll Need
Essential Tools:
- Measuring tape
- Circular saw or utility knife (for cutting planks)
- Spacers (to maintain an expansion gap)
- Tapping block & pull bar (for securing planks)
- Rubber mallet (to gently hammer planks into place)
- Knee pads & dust mask (for comfort and safety)
- Power drill (if fixing trims)
Materials:
- Laminate planks (calculate how much laminate flooring you need)
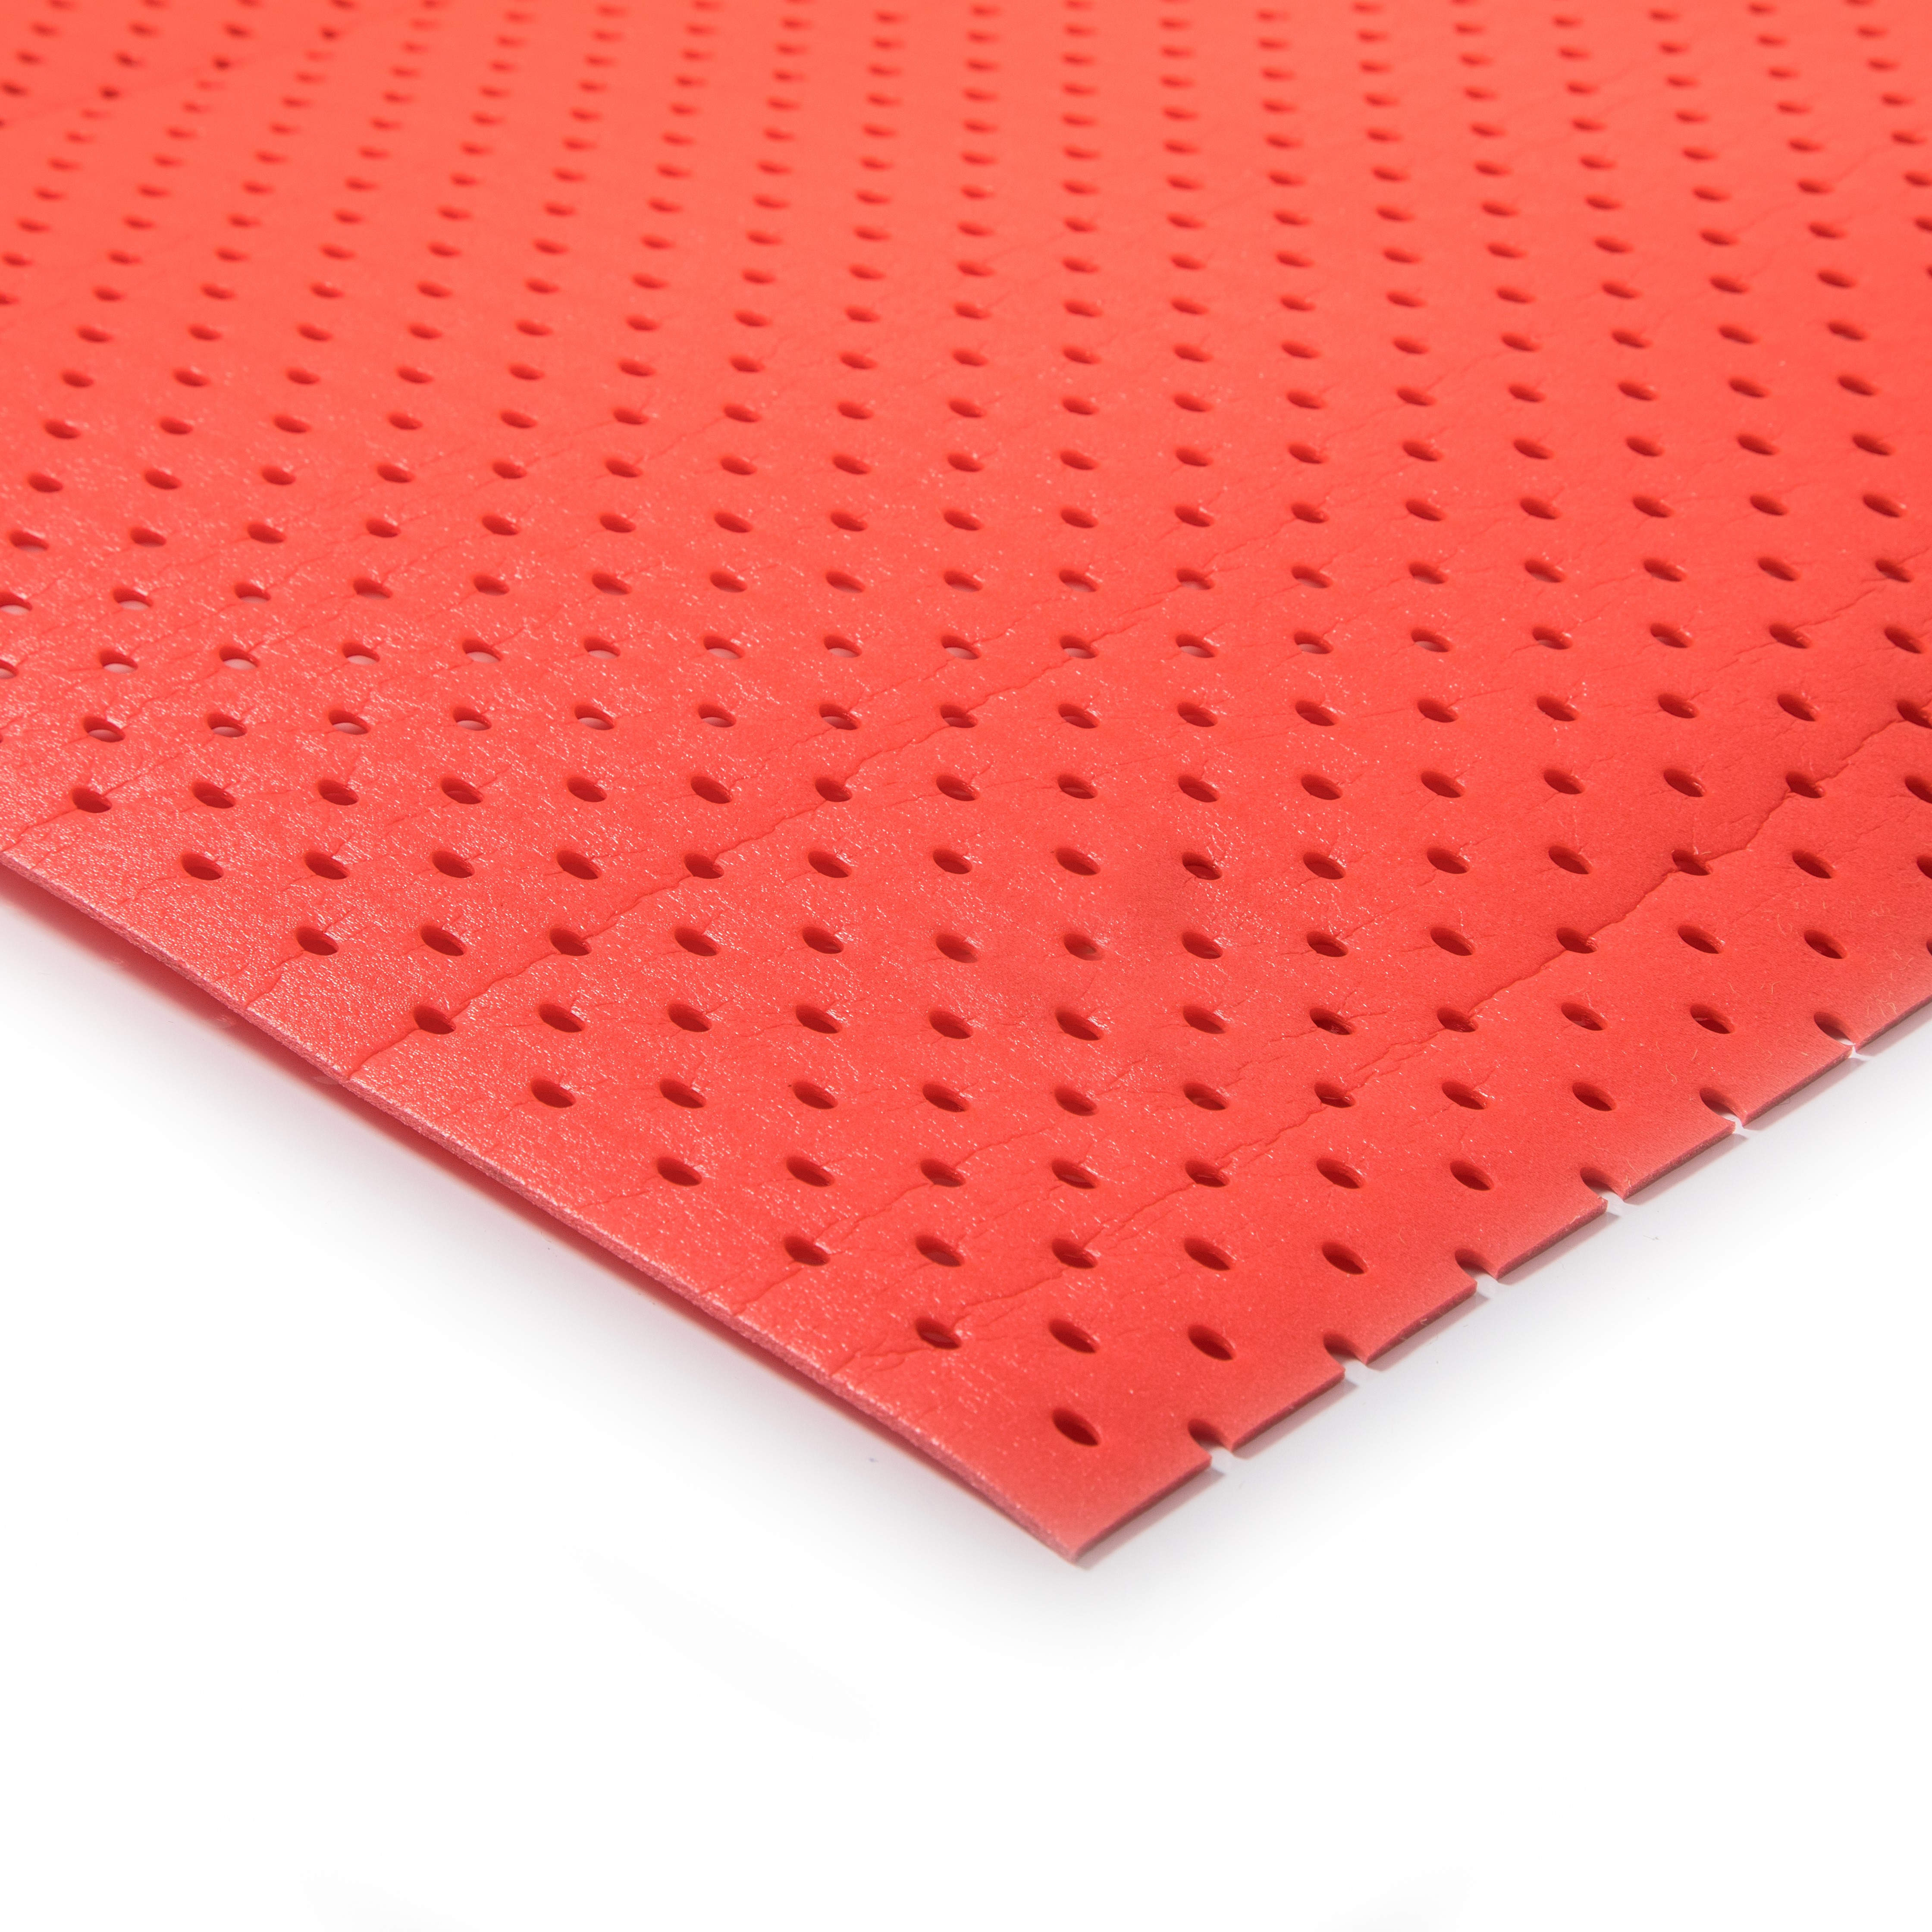
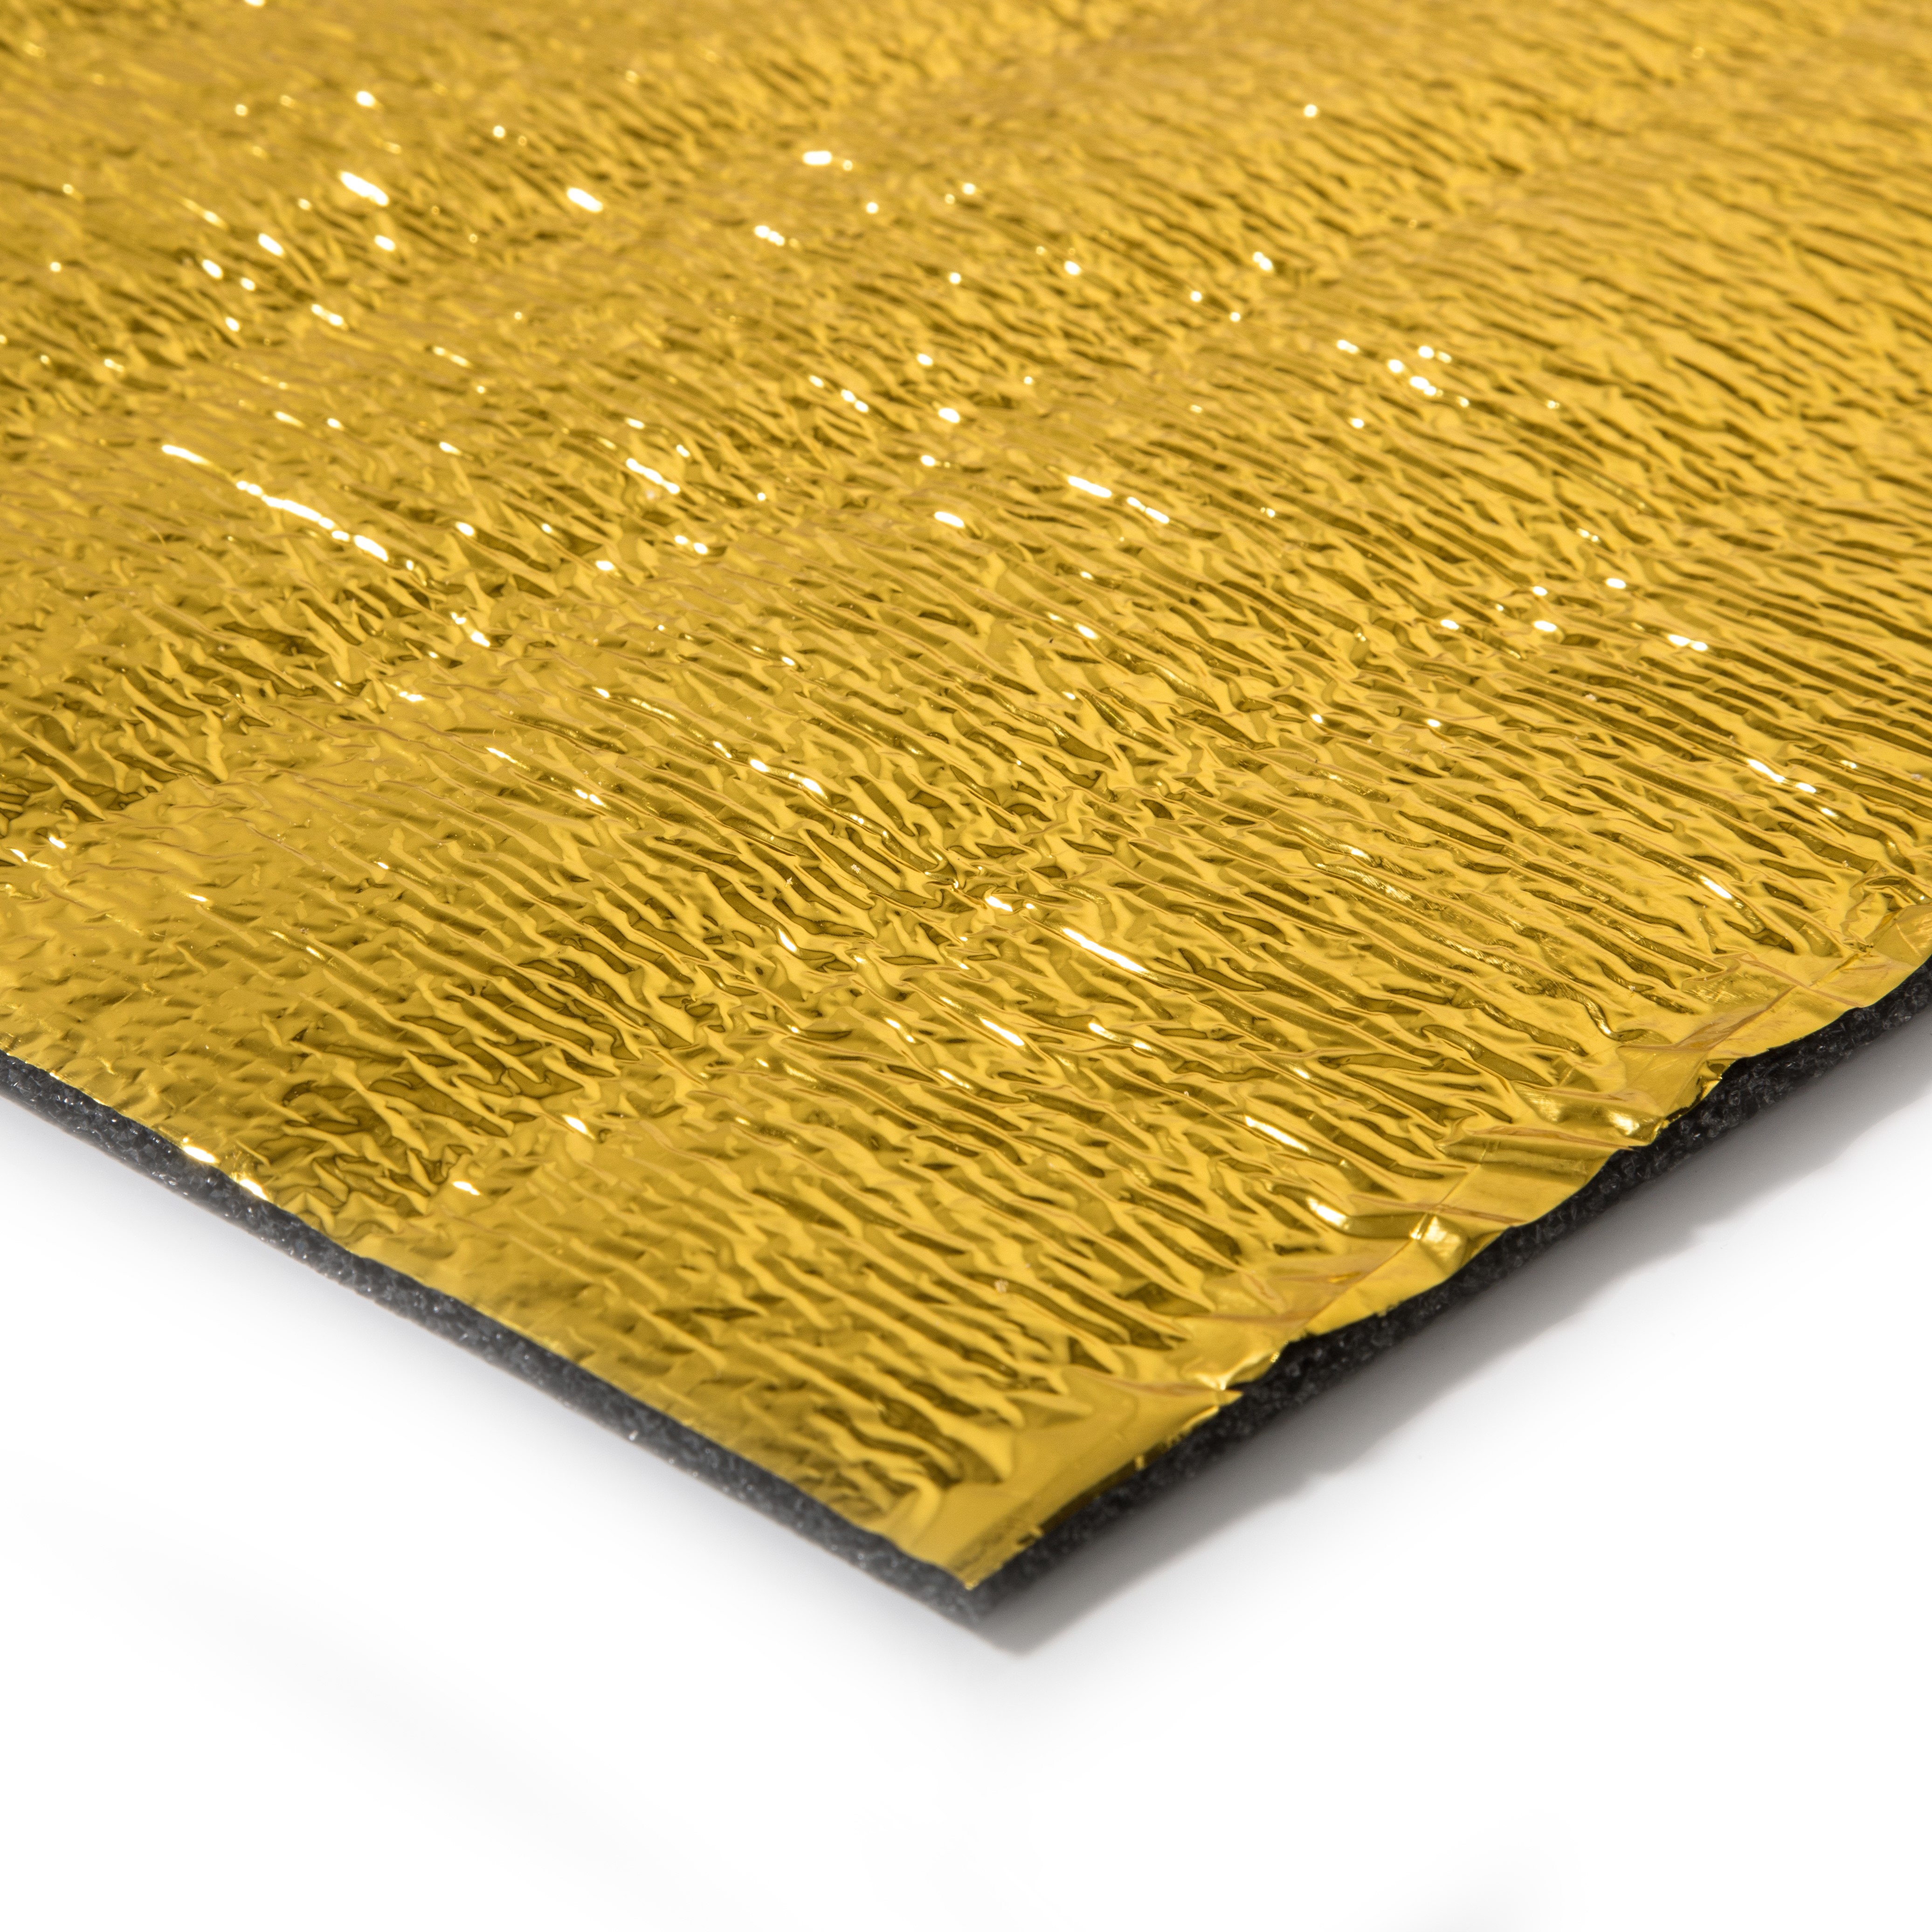
- Underlay (check out Choosing the Right Underlay for Laminate Flooring)
- Damp proof membrane (if installing over a concrete subfloor)
- Skirting boards or trims (see Laminate Trims & Profiles)
How to Install Laminate Flooring: A Step-by-Step Guide
Installing laminate flooring is easier than you might think. Here's a step-by-step guide to installing click laminate floors:
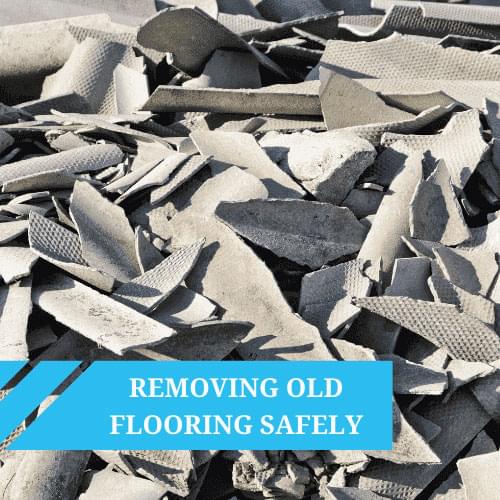
Step 1: Prepare the Subfloor
A successful installation starts with a flat, clean, and dry subfloor.
- Remove old flooring and clear any debris.
- If installing over concrete sub floor, lay a damp proof membrane.
- Use a floor leveller to fix uneven surfaces.
Step 2: Acclimate the Laminate Planks
Laminate flooring expands and contracts with temperature and humidity. Leave the planks in the room for at least 48 hours before installation to acclimate to the room's conditions. Some manufacturers may recommend acclimatising the floor for 72 hours. Make sure you read the instructions carefully prior to installation, check out our dedicated guide for more.
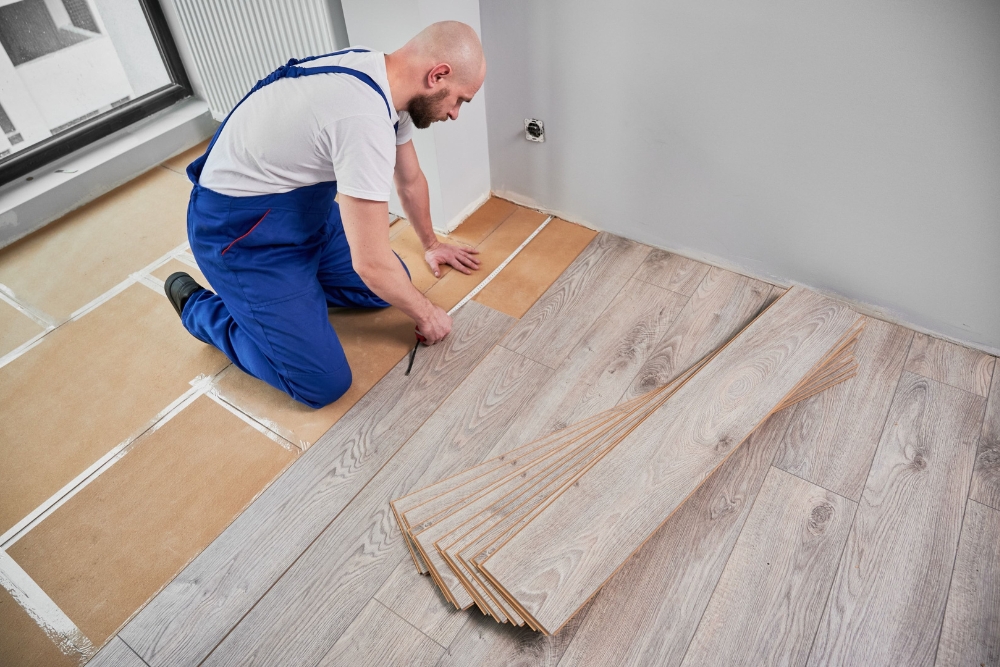
Step 3: Plan Your Layout
- Start along the longest wall for a seamless look.
- Stagger the joints for a natural appearance.
- Measure the room to ensure the last row isn’t too narrow—adjust the first row if necessary.
Common Layout Patterns for Laminate Flooring
| Layout Style | Description | Best For |
|---|---|---|
| Straight Lay | Planks run parallel to the longest wall, the most common and easiest method. | Most rooms, beginners, quick installation. |
| Diagonal | Planks are laid at a 45-degree angle to the walls for a unique look. | Open-plan spaces, creating visual interest. |
| Herringbone | Planks are arranged in a zigzag pattern. Requires precise cutting and alignment. | Feature areas, professional installation. |
| Random Stagger | Joints are offset randomly to mimic real wood flooring. | Natural, rustic appearance. |
Step 4: Install Your Underlay
Underlay acts as a moisture barrier and provides some cushioning and sound reduction to the floor. Did you know there are different types of underlays available to fit different environments? Learn how to choose the best for your space and flooring in our dedicated guide.
If you’re installing your laminate floor over underfloor heating, you'll need to choose an underlay specifically designed for heat conductivity. Always check the manufacturer’s instructions to ensure your laminate is compatible with underfloor heating and gradually increase the temperature after installation to avoid sudden expansion.
How to Install Underlay Correctly:
- Lay the first strip along the longest wall, ensuring it sits flat with no wrinkles.
- Cut to fit using a utility knife, trimming around radiator pipes and door frames.
- Tape the seams together with underlay tape to prevent shifting.
- Avoid overlapping—each section should sit edge to edge for an even surface.
- If using an underlay with a damp-proof membrane, ensure the edges overlap slightly and tape them securely.
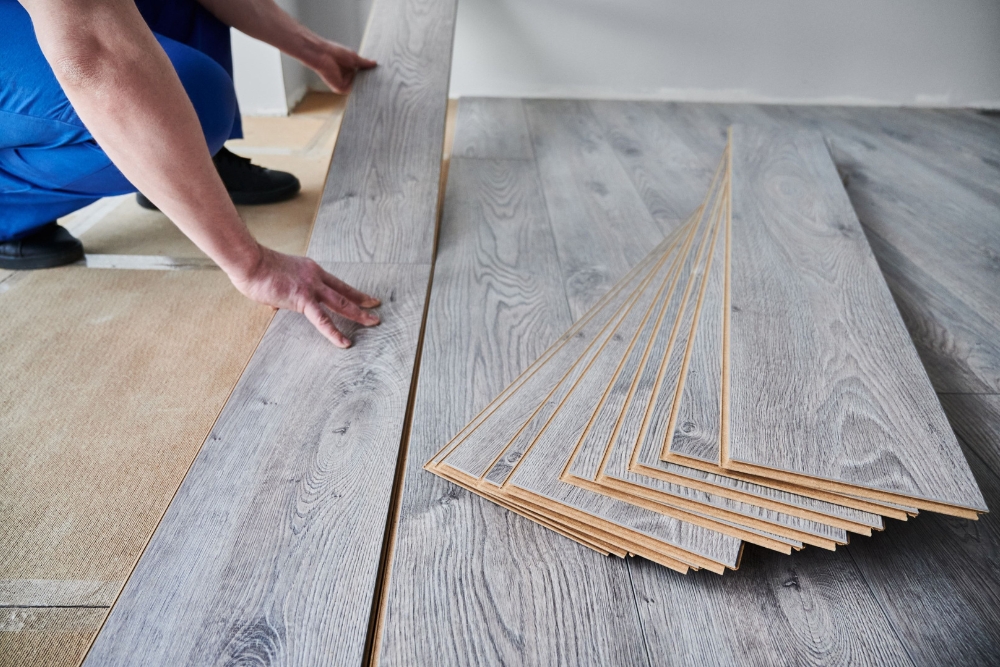
Step 5: Lay the First Row
This is where your new floor starts coming to life, so take your time—a solid first row is the foundation for a flawless finish.
Start in the left-hand corner, placing the first plank with the tongue edge facing the wall. Use spacers to leave a 10-12mm expansion gap around the room’s perimeter—this little detail keeps your floor from warping later. Click the next plank into place, making sure it sits snugly. No gaps, no wobbles.
Keep going until you reach the end of the row, cutting the last plank to fit. Step back and check your work. A straight first row makes everything easier. If it looks wonky now, it won’t fix itself later, so adjust as needed before moving on.
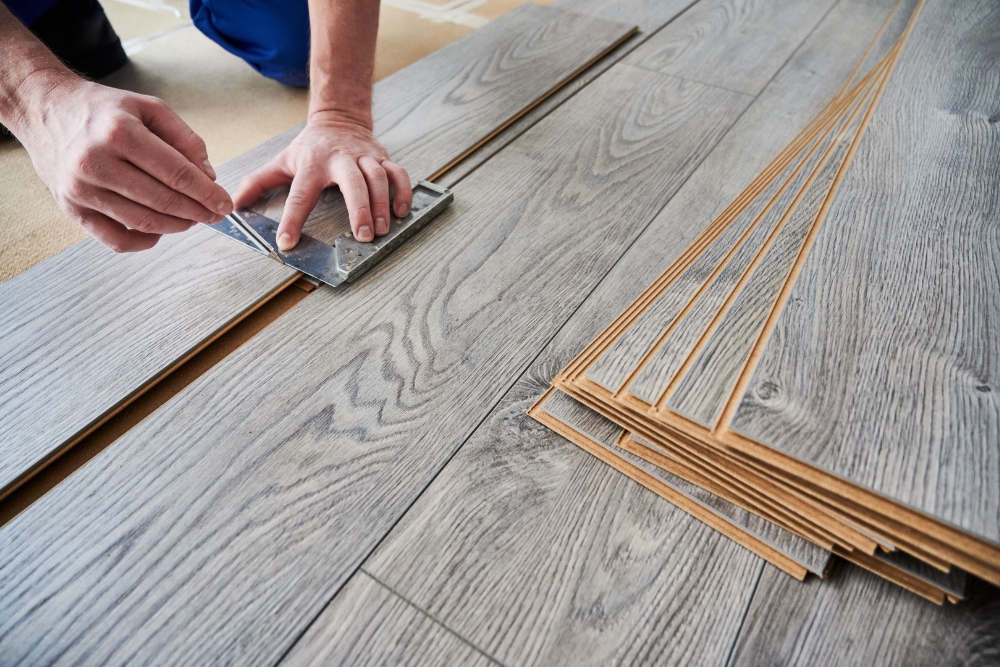
Step 6: Click and Lock the Planks Together
- Insert the next plank at a 45-degree angle, then press it down to lock it in place.
- Use a tapping block and pull bar to ensure a tight fit.
- Cut planks as needed to fit at the end of each row.
How will I know if the planks are locked in place?
- The seam between planks is tight with no visible gaps.
- The planks lie flat without bouncing or shifting.
- When tapped with a rubber mallet, there’s a solid connection, not a hollow sound.
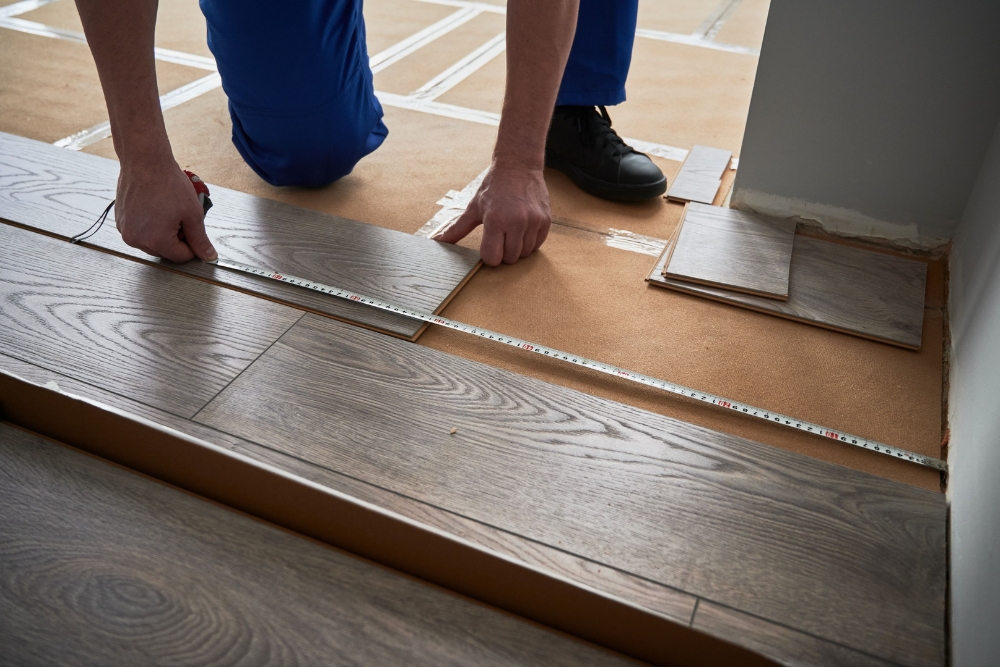
Step 7: Cutting and Fitting Around Obstacles
Not every room is a perfect rectangle, so you’ll likely need to work around radiator pipes, door frames, or other tricky areas. A little patience and precision here will make all the difference.
For radiator pipes, drill a hole slightly larger than the pipe diameter, then cut a small notch from the hole to the edge of the plank. Once the plank is in place, the offcut can be glued back behind the pipe for a seamless look. When cutting, ensure the decorative side is facing up to avoid chipping.
Door frames need a different approach. Instead of cutting the laminate to fit around the door frame, use a handsaw or multitool to trim the bottom of the frame itself. This way, the laminate can slide underneath, creating a much cleaner and more professional finish.
Step 8: Lay the Final Row
You’re almost there—just the last row to go. Since this row often needs to be narrower, measure carefully and cut the planks to fit. Remember to account for the expansion gap along the perimeter.
Once cut, position the planks and use a pull bar to gently ease them into place. This tool helps lock the boards together when there’s not enough room to angle them in like before.
Double-check that everything is snug and secure, then step back and admire your work—your new laminate floor is nearly complete!
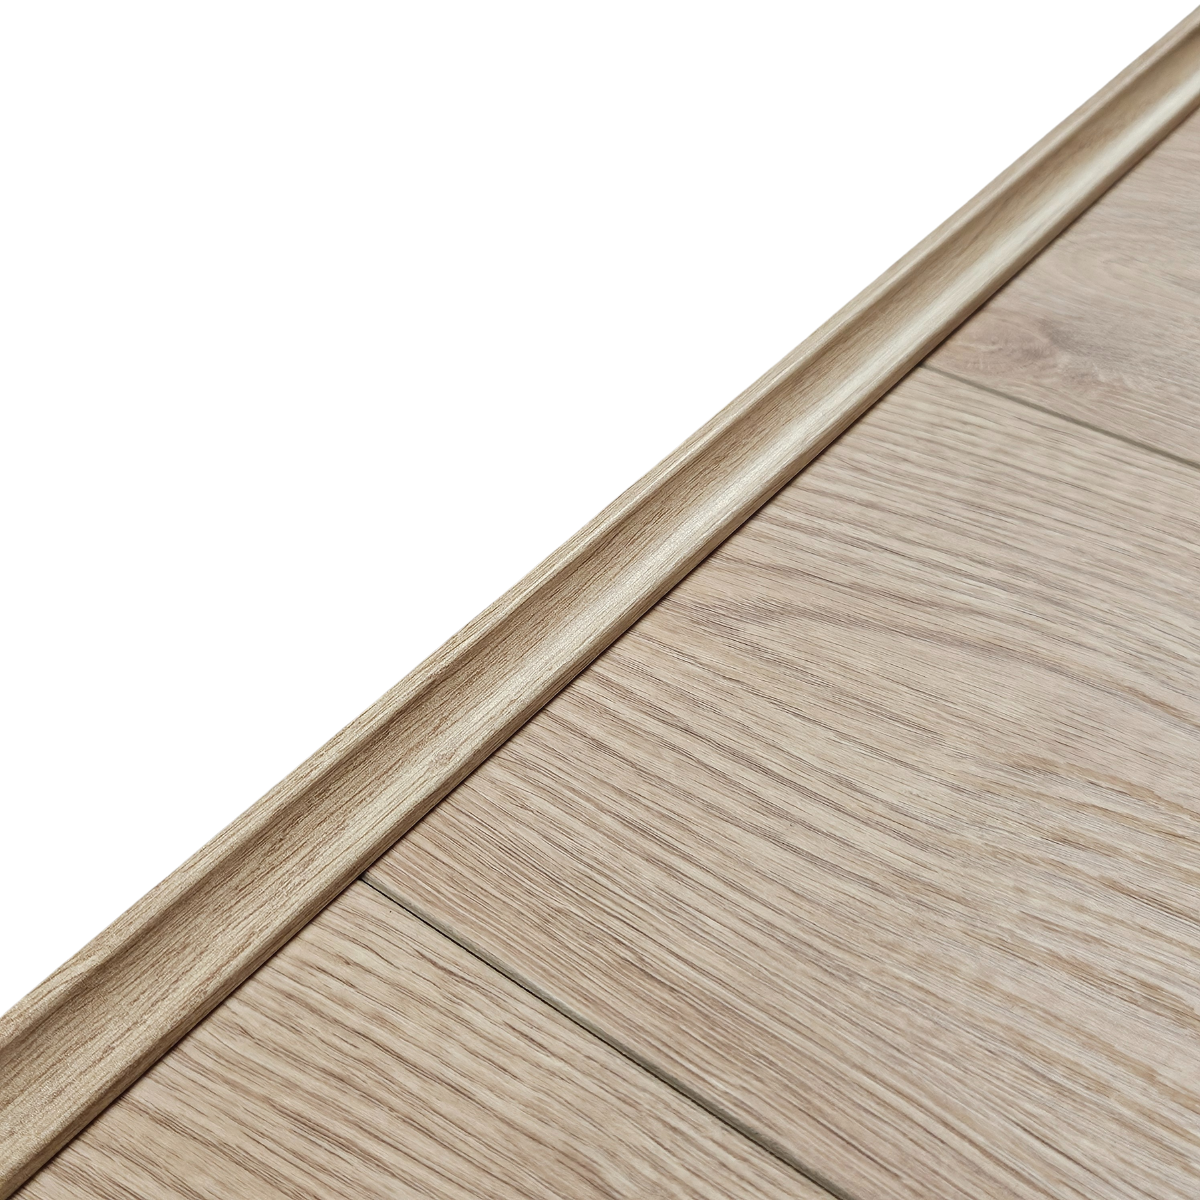
Step 9: Finishing Touches
Once all planks are installed, add baseboards or trim to cover the gap for a polished, professional look. We have a beautiful selection of matching trims, beading, and profiles to choose from.
By following these steps, your DIY project will result in a professional quality installation. You'll be able to enjoy a beautiful, scratch-resistant, and easy-to-clean laminate floor that will last for decades with minimal maintenance.
What about Herringbone Laminate?
While standard laminate flooring is DIY-friendly, herringbone laminate flooring is a different story:
- Requires precise cuts and alignment—even small errors stand out.
- May need adhesive, making adjustments difficult.
- Takes longer to install, increasing frustration for beginners.
If you're set on a herringbone look, consider hiring a professional for a flawless finish.
Tips and Tricks for a Successful Installation
To achieve best results follow the adage: 'measure twice, cut once'. Precise measurements can save you from unnecessary wastage and help you achieve the best fit possible for your new laminate floor. Remember, achieving an accurate cut at the start saves you trouble down the line.
The right tools also make all the difference. Key items to have on hand are a saw for cutting the boards, a measuring tape for precise dimensions, spacers to ensure the correct expansion gap and a rubber mallet to secure the click-and-lock installation process.
Plan your installation in advance. Don't rush; it's not a race. If you need to span the process over multiple days, that's completely fine. Remember to take breaks as needed to maintain your attention to detail.
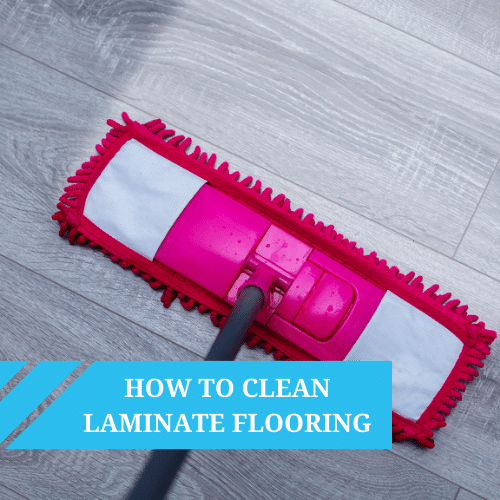
Once your floor is installed, don't overlook the importance of proper maintenance. Keeping your new laminate flooring clean and well cared for will prolong its life and keep it looking its best. Regular sweeping or vacuuming can remove debris that might scratch the surface, and wiping up spills promptly will protect your laminate's wear layer. For in-depth cleaning tips, check out our guide on how to clean laminate floors.
Your Next DIY Project Starts Here
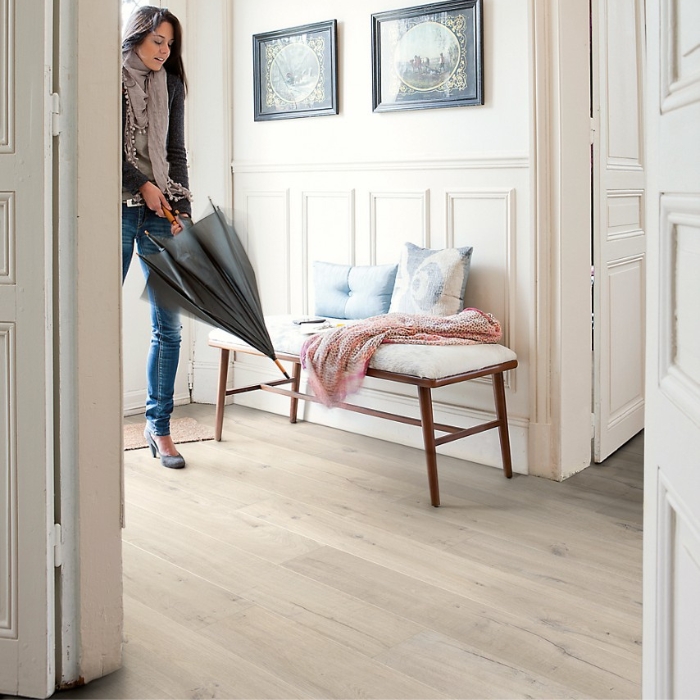
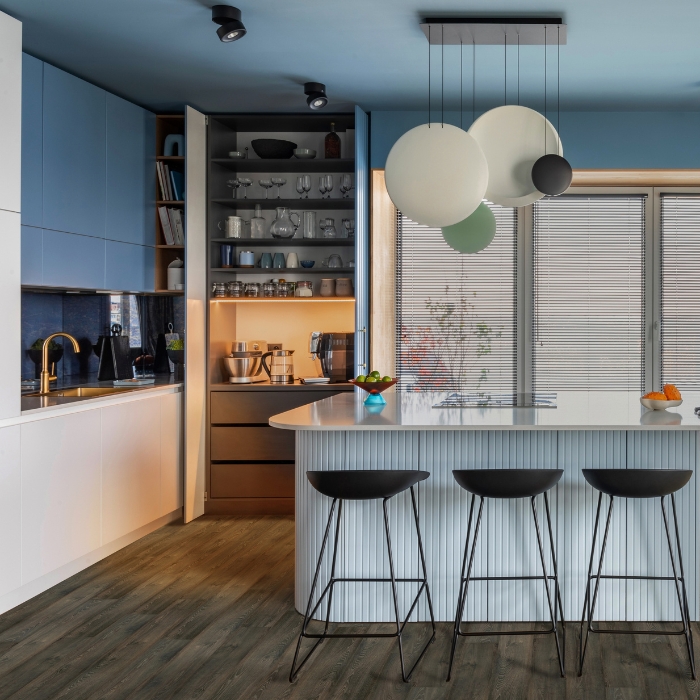
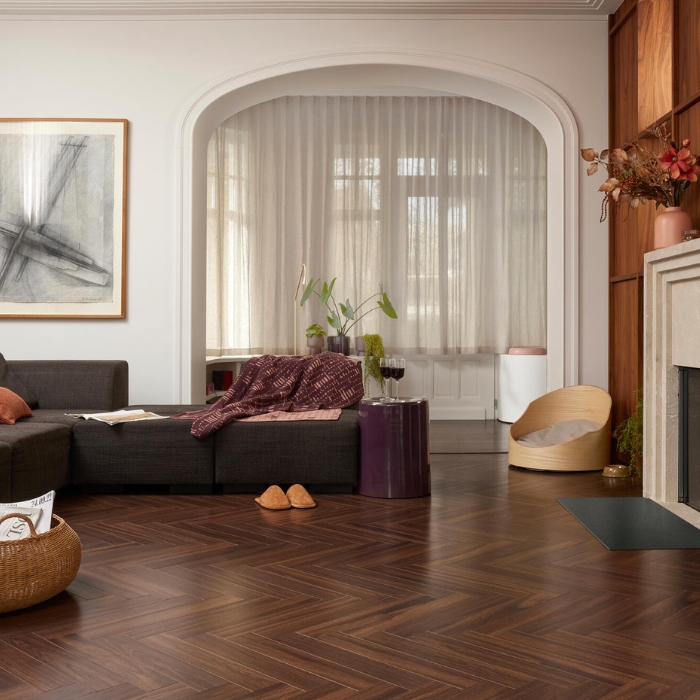
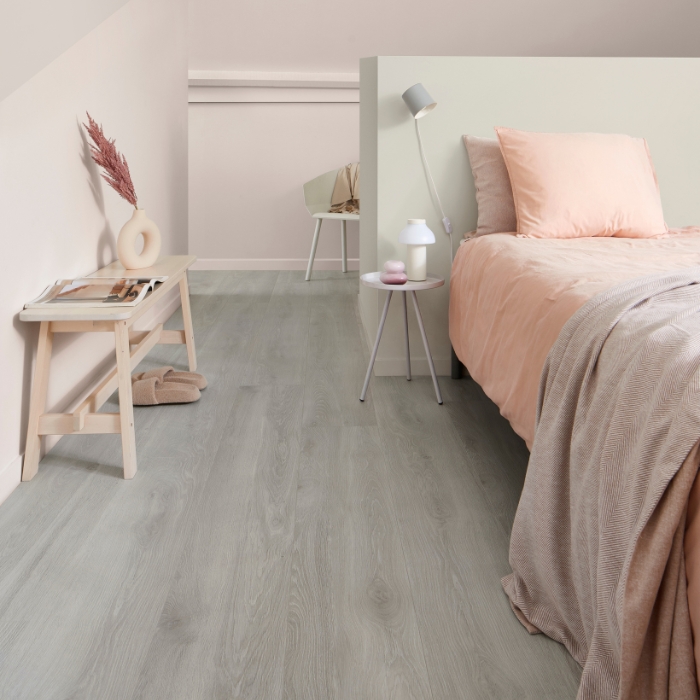
Now that you know how to install laminate flooring, the only thing left is to choose the perfect style for your space. Whether you're after a classic wood effect, a modern grey finish, or something bold and unique, the right laminate can completely transform your home.
With its easy installation, durability, and low maintenance, laminate flooring is a smart choice for any DIYer. So why wait? Explore our full range of laminate flooring and get started on your next home improvement project today.
FAQs
Q: Can I install laminate flooring myself?
Yes! Installing laminate flooring is totally doable as a DIY project, as most systems use a click-lock method not requiring adhesive.
Q: Where do you start when laying laminate flooring?
Start along the longest wall, working from left to right.
Q: Do I need underlay for laminate floors?
Yes. Underlay reduces noise, improves comfort, and protects against moisture.
Q: How do I cut laminate planks?
Use a circular saw, jigsaw, or utility knife. Always cut with the decorative side up.