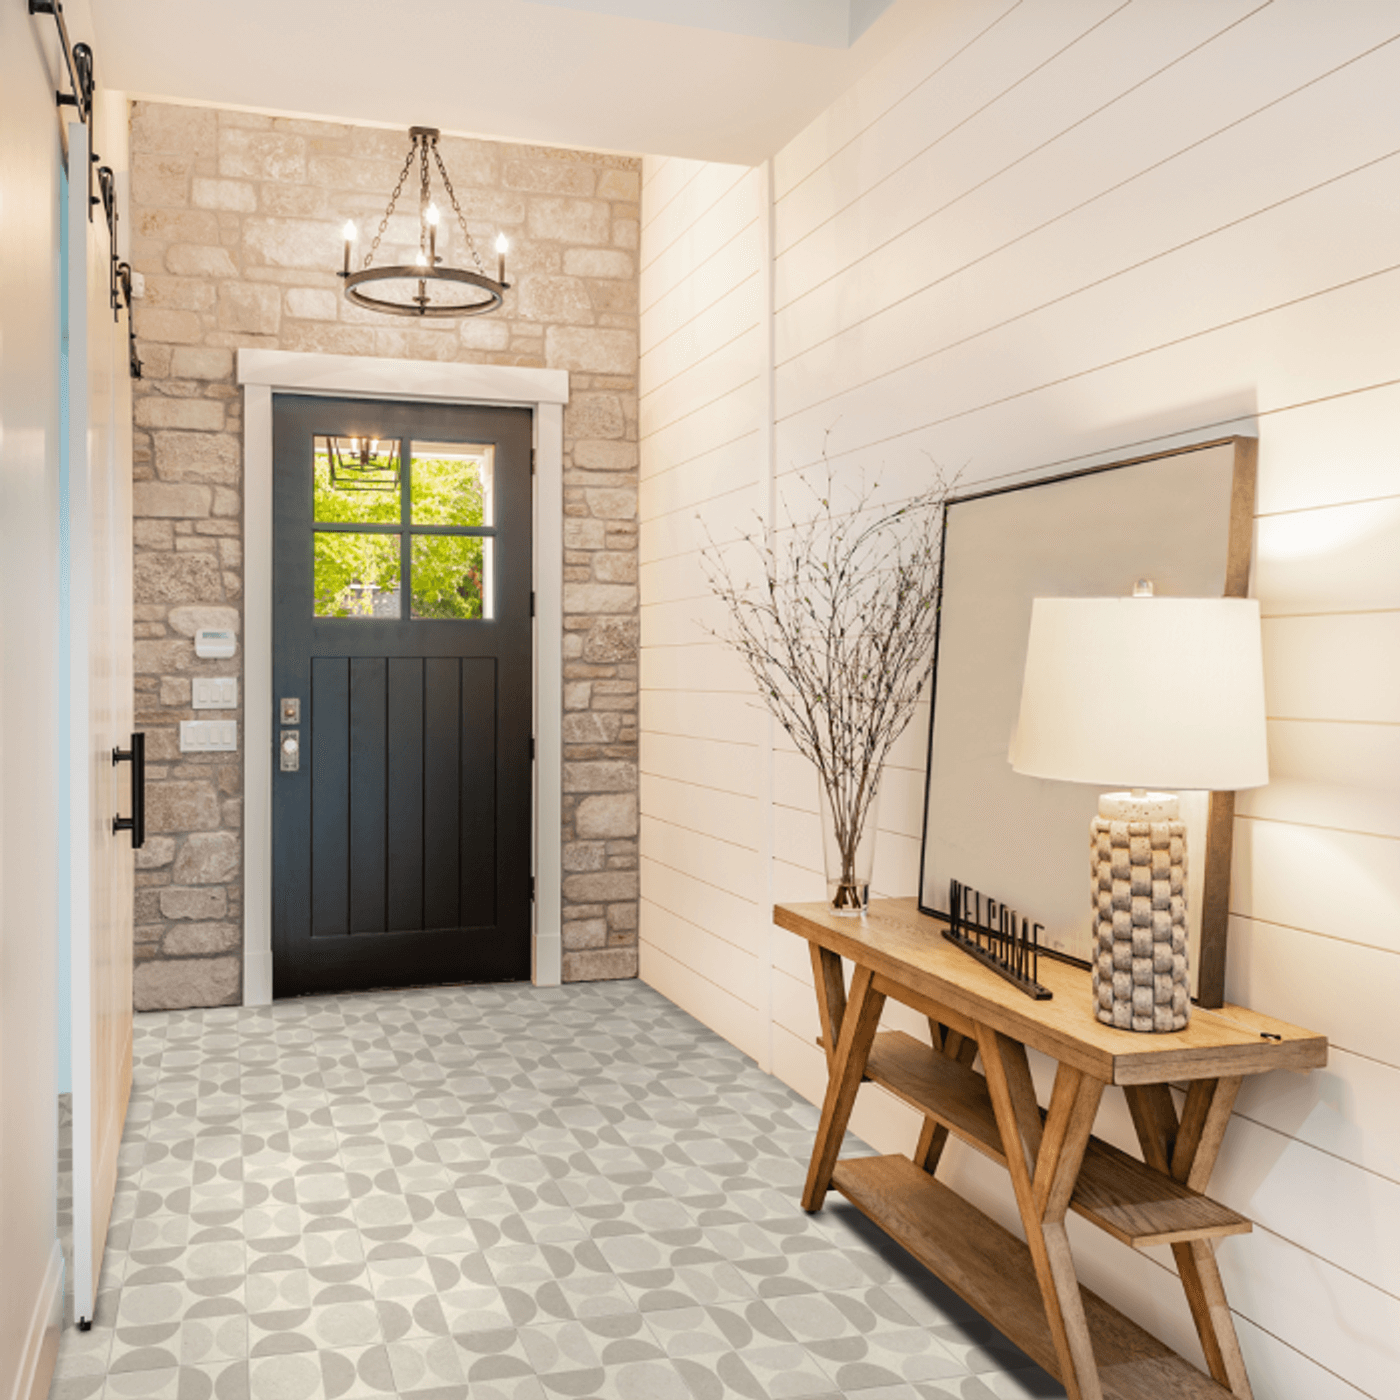
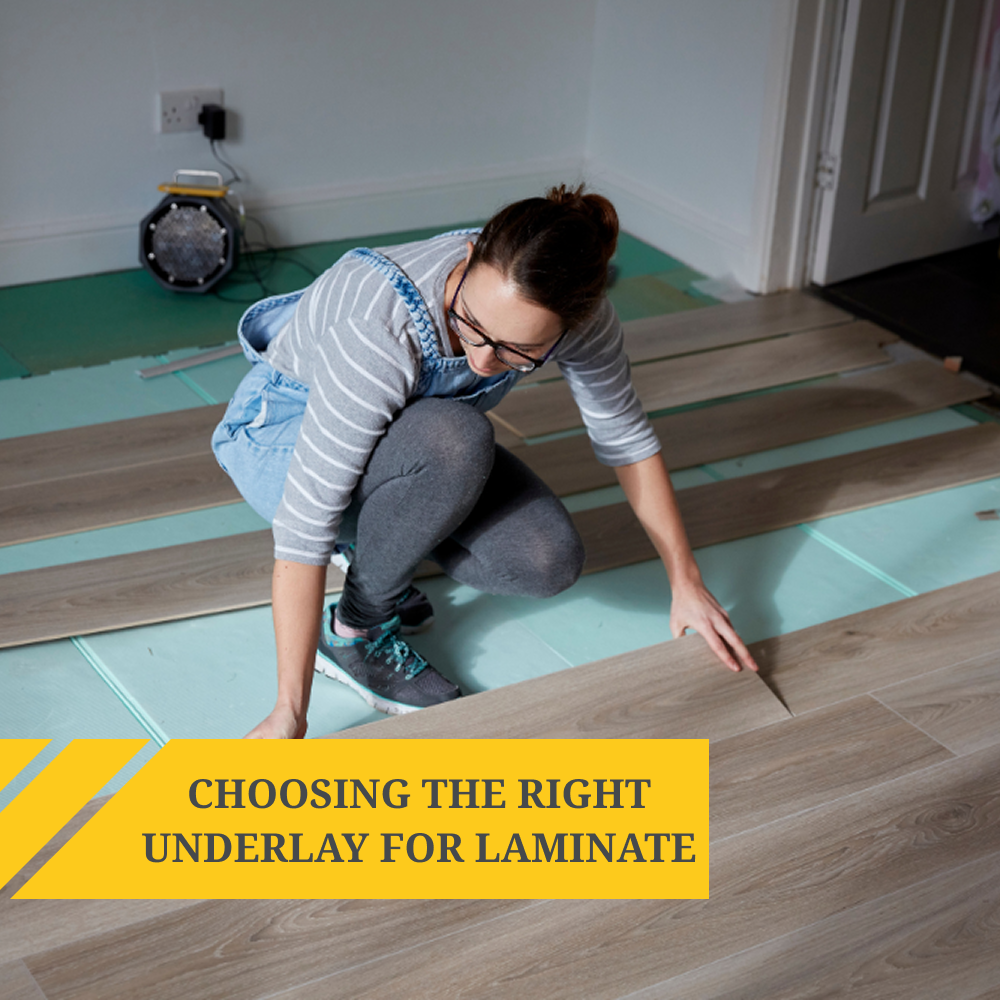
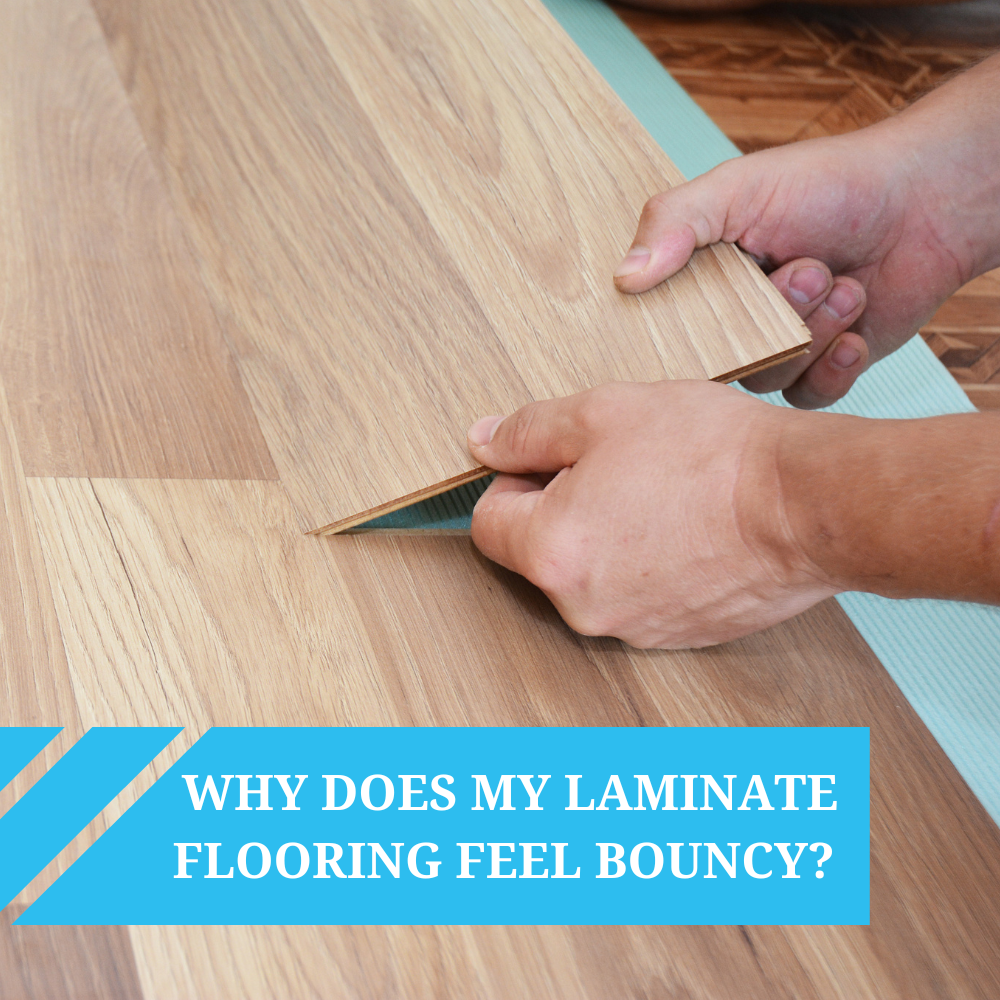
Not only is sheet vinyl trendy and budget-friendly, but it's also a modern option with stunning designs and easy installation, even for beginners. Let's explore how you can transform your home with the coolest sheet vinyl flooring trends this summer.
Imagine transforming your living space with the beauty and affordability of sheet vinyl flooring—and the pride of doing it yourself! But before jumping in, a little preparation goes a long way. Here are 5 essential tips to ensure your DIY vinyl flooring project is a success and doesn't turn into a 'nailed it' meme moment.


Knowledge is Power
Before starting your vinyl flooring project, arm yourself with the right knowledge. They say success is 80% preparation and 20% execution. This couldn't be more true when it comes to DIY projects. Trust us, doing your homework now will save you time and frustration (and possibly some colourful language) later on.
Utilise online tutorials and manufacturer guides, and consult flooring professionals like Best4Flooring for specific advice. Being well-informed will give you the confidence you need to tackle this project head-on.
Understand the basics of installing sheet vinyl flooring, from subfloor prep to the final sealing. Knowing what to expect at each stage will make the process smoother and more enjoyable. Don't be afraid to ask questions and seek guidance as needed.

Research Types of Sheet Vinyl
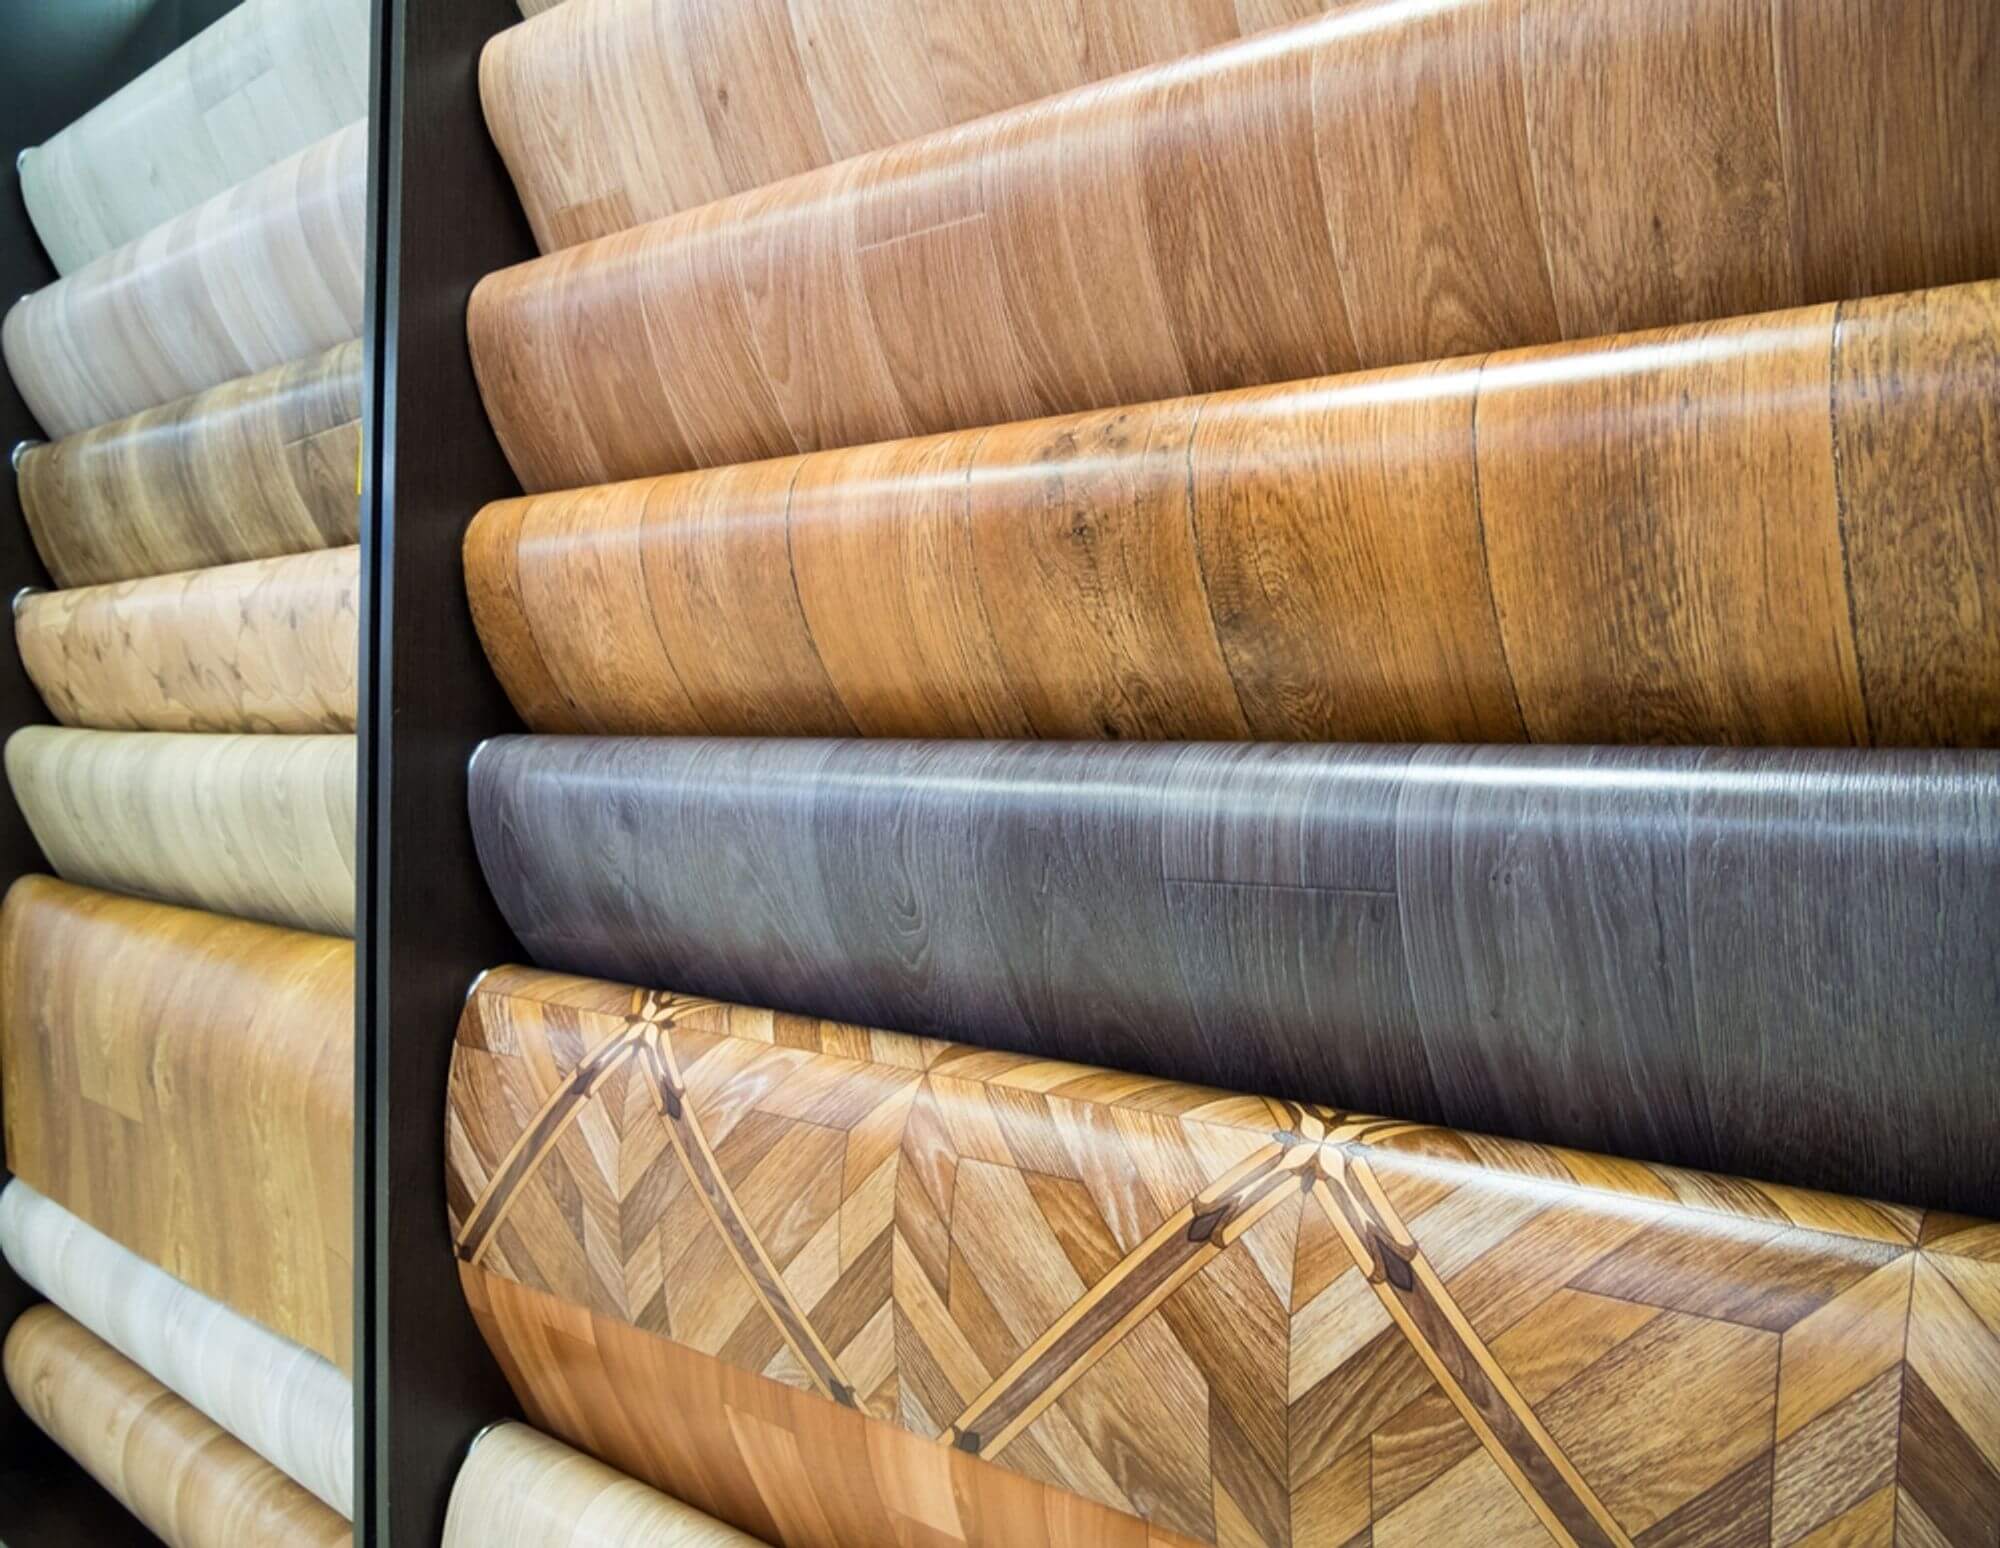
There are different types of sheet vinyl, such as cushioned, felt-backed, and non-cushioned varieties. Each type has its own strengths and best-use cases. Cushioned vs. non-cushioned sheet vinyl, sheet vinyl for bathrooms, sheet vinyl for kitchens, sheet vinyl for living rooms... the list goes on. Take some time to research the various types and find the one that best suits your needs.
- Cushioned Sheet Vinyl - Cushioned sheet vinyl features a foam backing layer that provides extra comfort underfoot. It offers better sound insulation, making it ideal for areas where you stand a lot, such as kitchens and laundry rooms. Additionally, this type of vinyl helps hide minor subfloor imperfections, ensuring a smoother overall appearance.
- Felt-Backed Sheet Vinyl - Felt-backed sheet vinyl has a layer of felt material on the underside, which enhances its durability and stability. Known for being easier to install, this option is forgiving of minor subfloor irregularities. It also provides some insulation and warmth, making it suitable for high-traffic areas.
- Non-Cushioned Sheet Vinyl - Non-cushioned sheet vinyl lacks the additional backing layer found in other types and is generally thinner. It is often seen as a more affordable option, yet it still offers water-resistant benefits, making it a practical choice for many applications.


Prep Your Canvas
A smooth, clean, and level subfloor is essential for a successful sheet vinyl installation. Proper preparation will ensure the longevity and appearance of your new flooring. Here's how to get your own sheet vinyl subfloor prep ready for the big day.
Clean and Clear
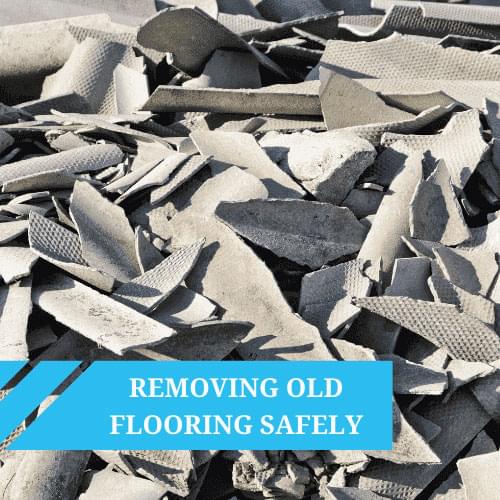
Start by removing any old flooring remnants, debris, and dirt. This can include everything from carpet staples to bits of old tile adhesive. A vacuum cleaner will help to ensure that the subfloor is spotless, but you might also need a broom and dustpan for larger debris. This step is crucial for the adhesive to bond properly, as even small particles can interfere with the bonding process.

Repair and Level
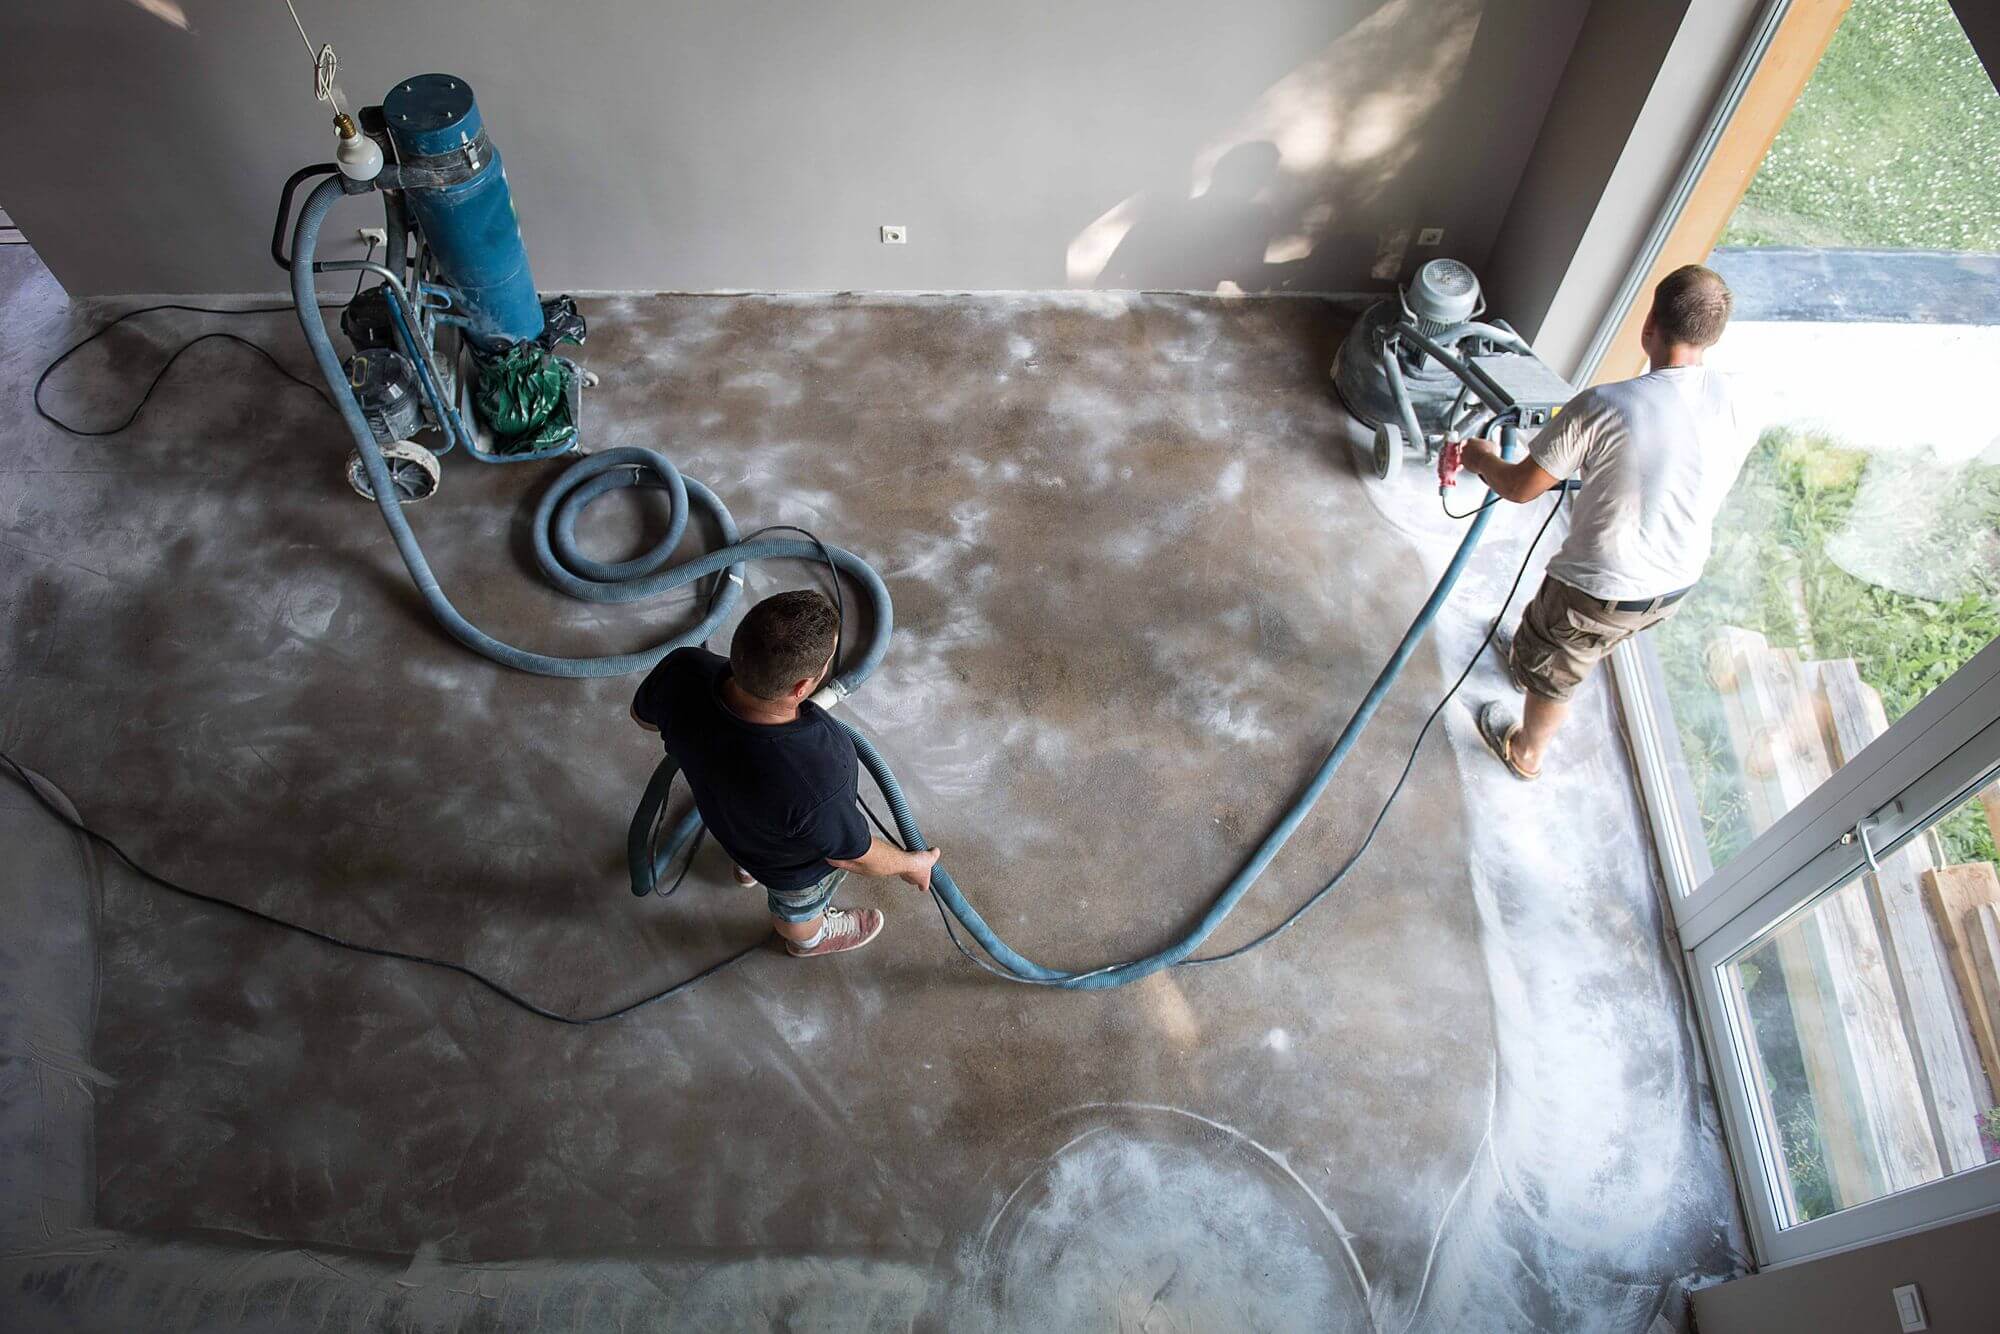
Patch any holes or cracks in your subfloor using a floor patching compound. Be sure to follow the manufacturer's instructions for drying times and application methods. If your subfloor is uneven, consider using a floor leveller.
This might require mixing a levelling compound and spreading it over the area. Sanding blocks can also help in smoothing out minor inconsistencies. Taking the time to ensure your subfloor is level will prevent future issues like bumps and ridges in your vinyl flooring.

Check for Moisture
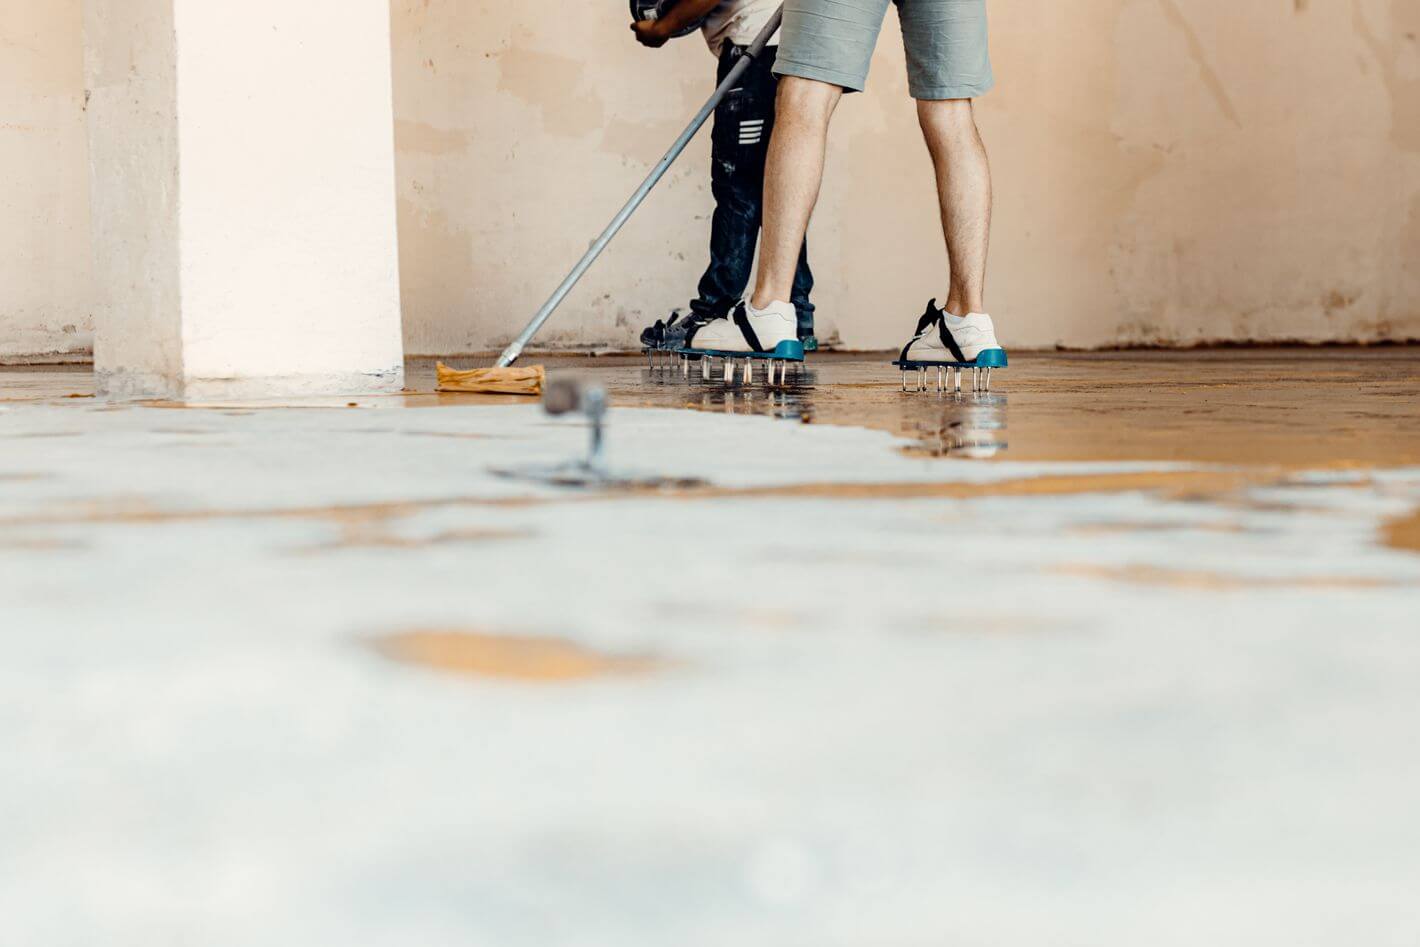
Before proceeding, check for any moisture issues. Moisture can wreak havoc on your vinyl flooring, causing it to bubble or lift over time. Use a moisture meter to ensure your subfloor is dry and ready for installation.
If you do find signs of moisture, you may need to address the issue before moving forward. This could involve improving ventilation, using a dehumidifier, or even installing a moisture barrier under the flooring. Ensuring a dry subfloor is a critical step in preventing future problems and extending the life of your vinyl flooring - no bubbly floors here!
Patience Pays Off: Acclimatise Your Vinyl
Acclimatising sheet vinyl to the room's temperature and humidity is a step that shouldn't be overlooked. Skipping this step can lead to rippling or shrinking issues down the line, potentially ruining the look and integrity of your flooring.
Why Acclimatisation Matters
Vinyl is sensitive to temperature and humidity changes. Allowing it to acclimatise ensures it settles properly, reducing the risk of future problems such as warping, bubbling, or gaps. Acclimatisation helps the vinyl material adapt to the environment, ensuring it performs as expected once installed.
How to Acclimatise
Lay the vinyl flat in the room where it will be installed and leave it for at least 24-48 hours. This period allows the vinyl to adjust to the room's conditions. For best results, follow the manufacturer's recommendations, which may vary based on the type of vinyl. If you're unsure, don't hesitate to ask one of our team for advice!
Avoid Common Mistakes
Failing to acclimatise your vinyl properly can result in a less-than-perfect finish, affecting not only the appearance but also the durability of your flooring. Don't rush this step; your patience will pay off in the long run by ensuring that your vinyl flooring remains smooth and secure. Remember, a small investment of time now can save you from potential headaches and costly repairs in the future.
Measure Twice, Cut Once: Precision is Your Friend
Precisely measuring for sheet vinyl installation is key to achieving a professional-looking finish. Whether you're working on home renovations, DIY projects, or professional installations, precise measurements will help you get flawless results and prevent those "oops" moments. Here's how to get it right.
Tools You'll Need
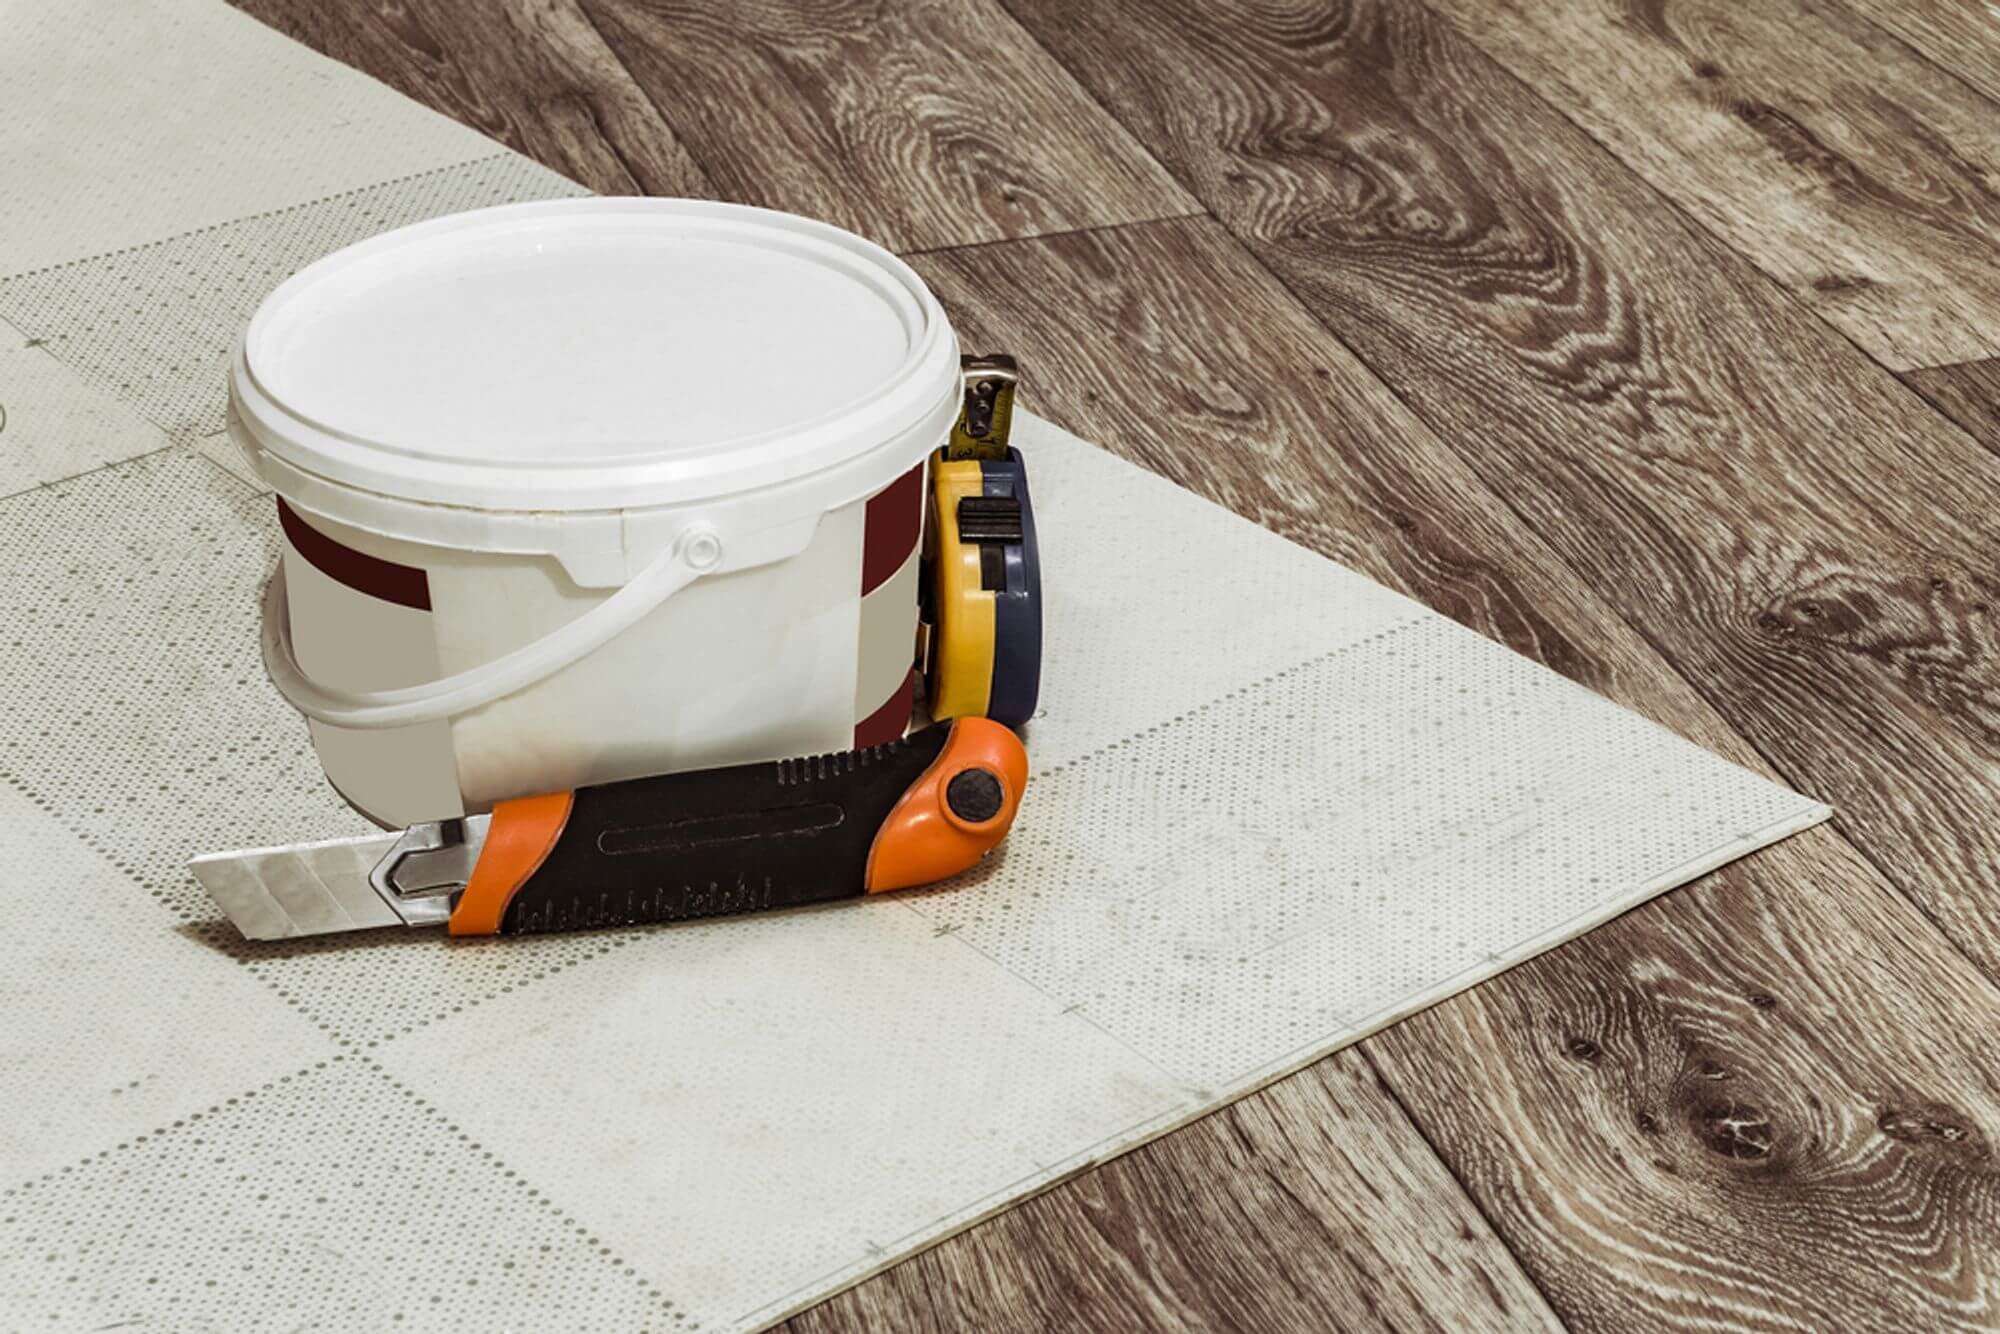
Equip yourself with a tape measure, straight edge, and utility knife. A tape measure will help you take exact measurements, while a straight edge ensures your cuts are perfectly aligned. A utility knife is essential for making clean and precise cuts. These are the best tools for cutting sheet vinyl to ensure a snug fit. Remember, safety first! Wear protective gloves when using sharp tools like utility knives to prevent injuries. Keep your work area well-lit and clutter-free to avoid accidents.

How to Create a Sheet Vinyl Layout Template
Consider creating a layout template to minimise waste and ensure you have enough material. Use graph paper or a digital design tool to sketch out your intended layout. Measure and mark your dimensions carefully, double-checking your measurements before making any cuts. This template will serve as a guide, making the cutting process more straightforward and helping you visualise the final result.
Leave Extra Material
When cutting sheet vinyl, always leave a bit of extra material around the edges for trimming. This will give you some wiggle room for adjustments and ensure a perfect fit. Cutting slightly outside the marked lines allows for any errors to be corrected easily, and the excess can be trimmed away for a precise finish. This step is particularly important when working with materials that may shift or stretch slightly during cutting.
By following these tips, you'll be well on your way to achieving a professional-looking finish that you can be proud of. Precision not only saves time and materials but also ensures that your project is built to last.

Seal the Deal: Tackling Adhesives and Seams
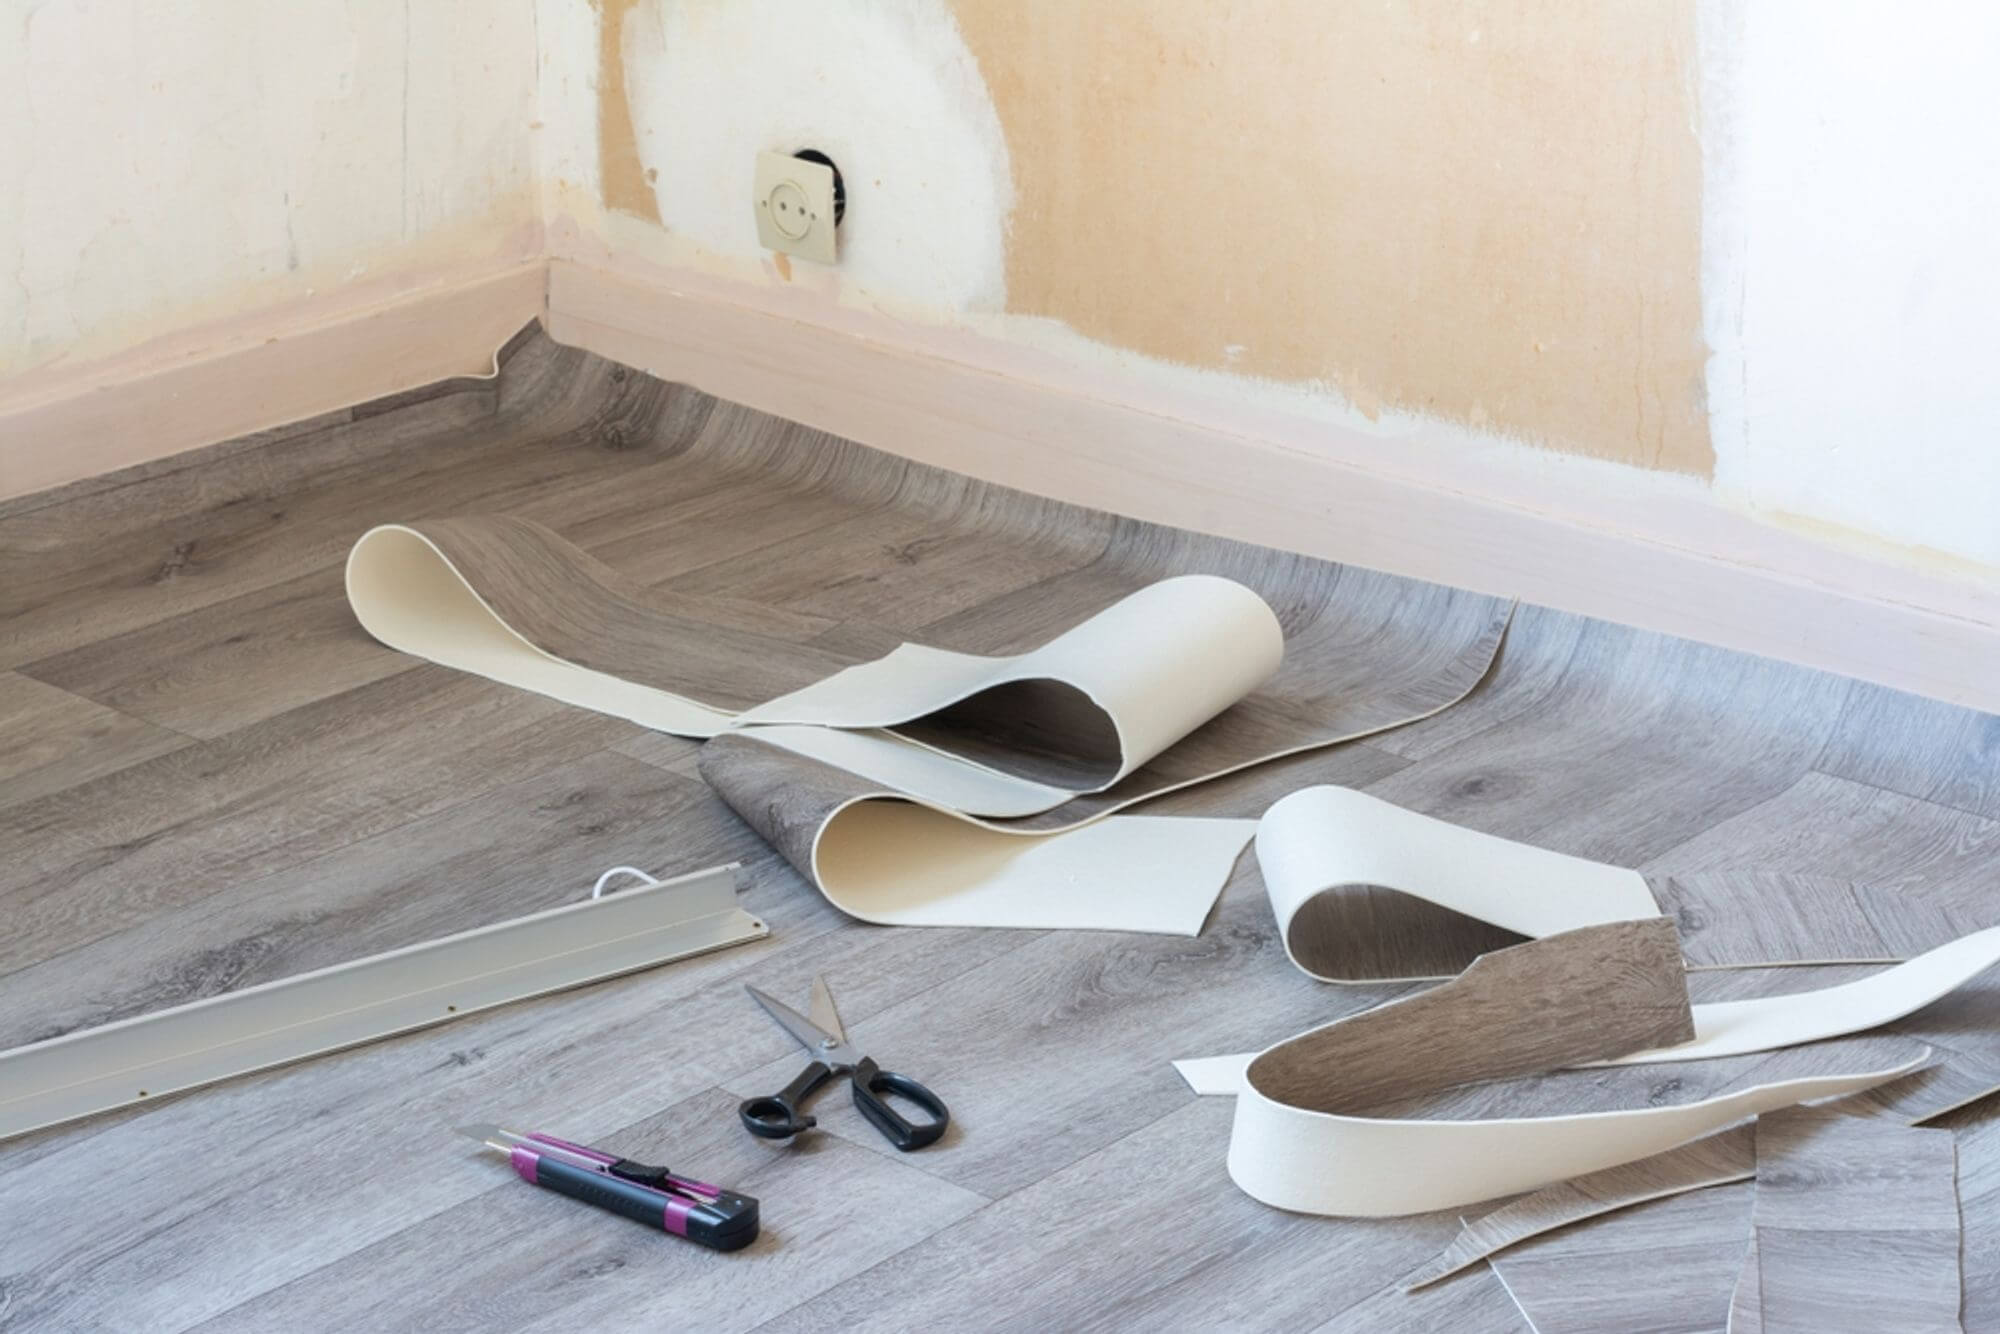
Completing your vinyl flooring project with precision requires careful attention to adhering the vinyl and ensuring the seams are smooth and invisible. This final step is crucial for both the durability and the "wow, did you hire a pro?" look of your flooring.
Choosing the Right Adhesive
Unless you're using self-adhesive sheet vinyl, you'll need to choose the right adhesive for your vinyl flooring installation. There are various sheet vinyl adhesive options available, including pressure-sensitive adhesives that allow for some repositioning and permanent adhesives that provide a strong, lasting bond. Your choice should be influenced by the type of vinyl you are using and the specific conditions of the room, such as humidity levels and temperature fluctuations. Consulting the manufacturer's recommendations can also help in making an informed decision.
How to Apply Sheet Vinyl Adhesive (if using)
To apply the adhesive, begin by using a notched trowel to spread it evenly across the subfloor. The size of the notches on the trowel should match the specifications of the adhesive you are using. Spreading the adhesive evenly helps to ensure a secure bond, which will prevent future issues like lifting or bubbling of the vinyl. Work in manageable sections to maintain control and precision. Allow the adhesive to become tacky before laying down the vinyl, as this will improve adhesion and ease the installation process.
How to Seal Sheet Vinyl Seams
Achieving smooth and invisible seams is essential for a professional-looking finish, and there are a few sheet vinyl seam techniques. Use seam rollers to press down the seams and ensure they are level with the rest of the flooring. Seam sealants can also be used to create a water-tight seal, adding an extra layer of protection against moisture. When trimming excess material, use a sharp utility knife and a steady hand to carefully cut along the edges. This will help you avoid jagged cuts and achieve a flawless finish. Take your time with this step, as precision here will greatly impact the overall appearance of your flooring.
Summary
By following these detailed steps, you can ensure a high-quality, long-lasting vinyl flooring installation that not only looks great but also performs well over time.
A successful DIY sheet vinyl flooring project is all about proper preparation and attention to detail. With these essential tips in your toolbox, you're well on your way to achieving stunning DIY sheet vinyl flooring. Feel free to browse our selection of high-quality sheet vinyl options to find the perfect fit for your project!
By following these steps, you'll not only save money but also gain the satisfaction of completing a home improvement project on your own. Plus, you'll have a great story to tell when your friends ask how you became a flooring expert overnight. Happy flooring!


